
Page 3 of 5 •  1, 2, 3, 4, 5
 TheWifeAdmin
- Posts : 42
Join date : 2015-01-25
Age : 61
Location : Georgia
 Re: cool fitty 50 olds mild custom
Wed May 18, 2016 1:33 pm
You lying toe rag, there is no way i would have picked bogey color for the engine  , and see you only love me so much when i buy you paints
  bleh bleh bleh
 fletch
- Posts : 250
Join date : 2015-01-25
Age : 53
Location : Maryland 
Re: cool fitty 50 olds mild custom
Wed May 18, 2016 1:47 pm
He just wanted to see if you really look at his posts and read them. LOL 
- TheWifeAdmin
- Posts : 42
Join date : 2015-01-25
Age : 61
Location : Georgia
Re: cool fitty 50 olds mild custom
Wed May 18, 2016 1:52 pm
i look at all the post, don't reply to all of them though, he knows i don't like the color green, what a putz he did it on purpose lol
 KitbashAdmin
- Posts : 276
Join date : 2015-01-25
Age : 54
Location : Georgia
Re: cool fitty 50 olds mild custom
Wed May 18, 2016 11:18 pm
and??? 
- KitbashAdmin
- Posts : 276
Join date : 2015-01-25
Age : 54
Location : Georgia
Re: cool fitty 50 olds mild custom
Wed May 25, 2016 1:33 pm
ok i think i have enough progress for another update...
decided i am gonna clean up the original bumper and tweak it a bit

i removed the center bar to clean things up
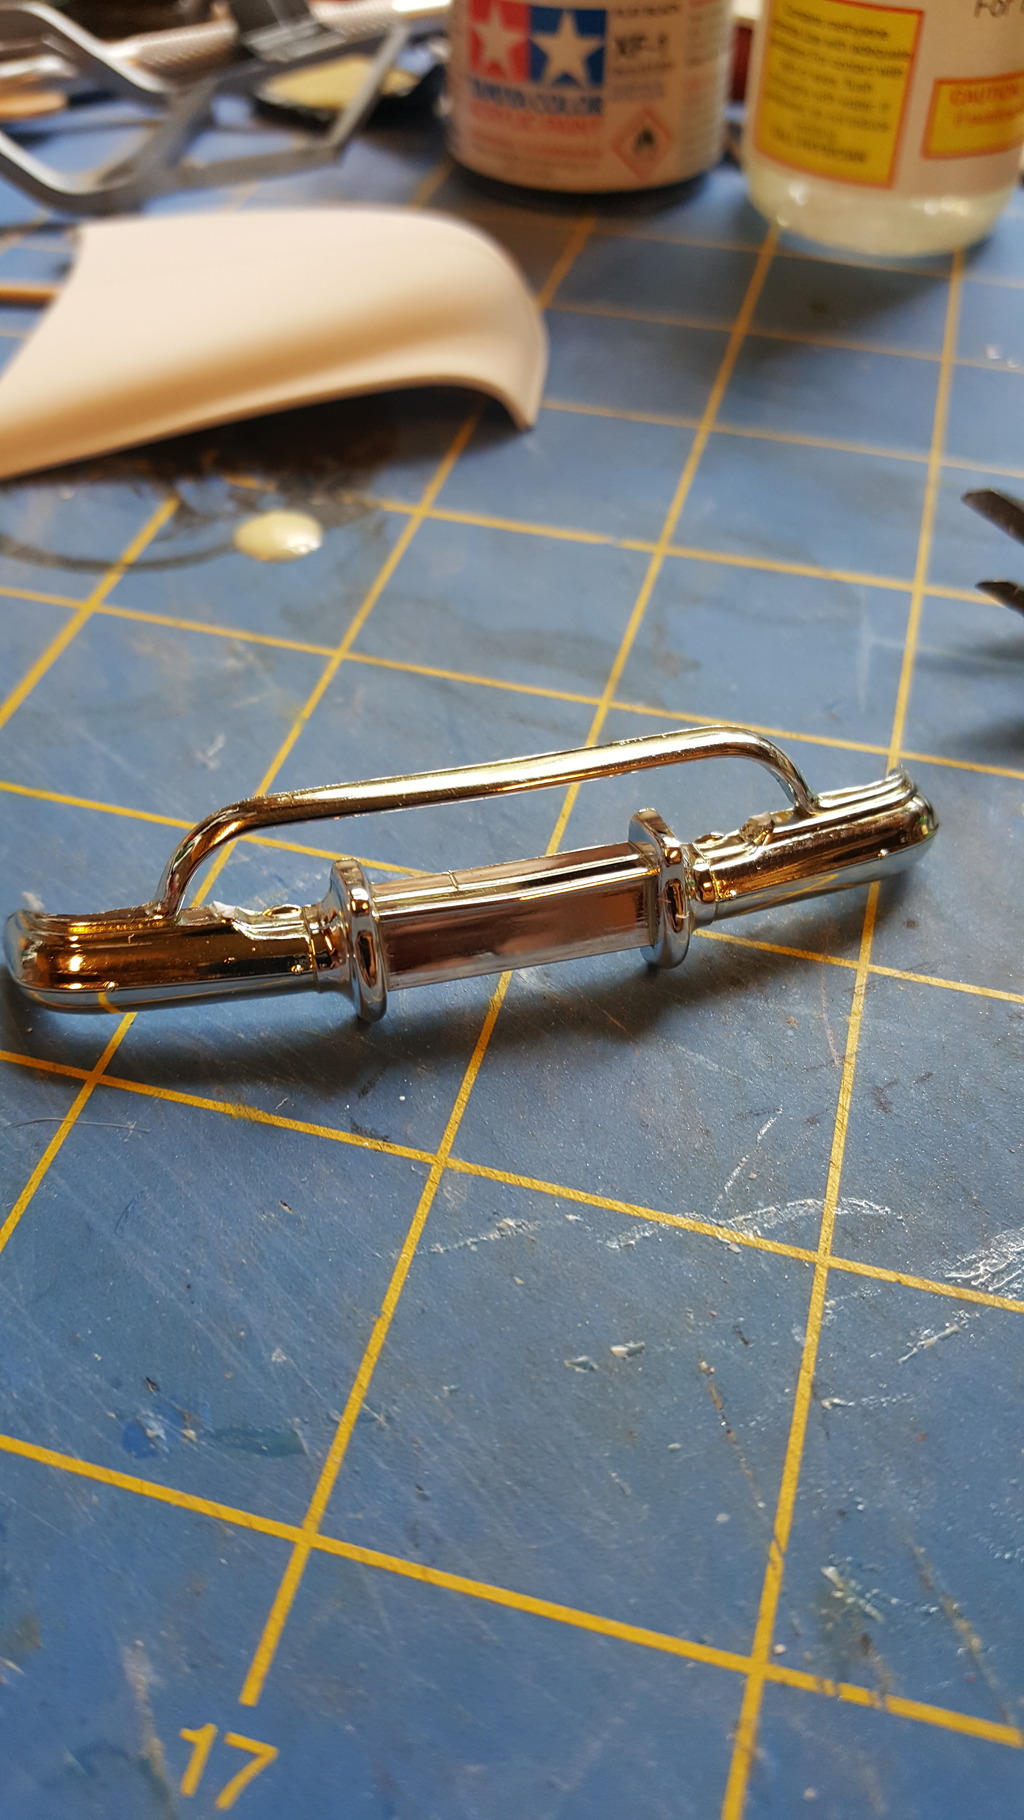
used a file to remove flash and clean up the back side of it

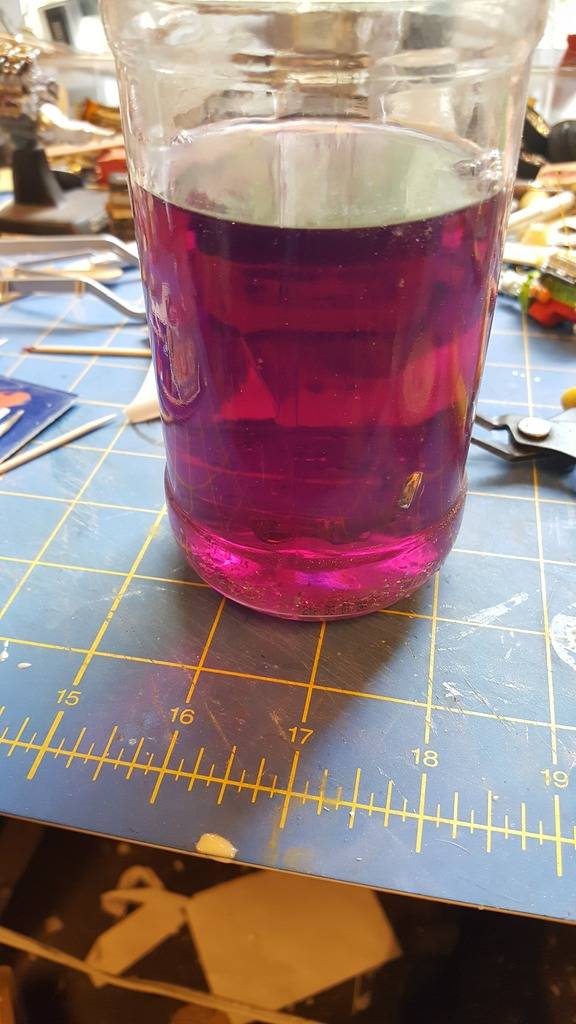
then it is off for a soak in the purple pond
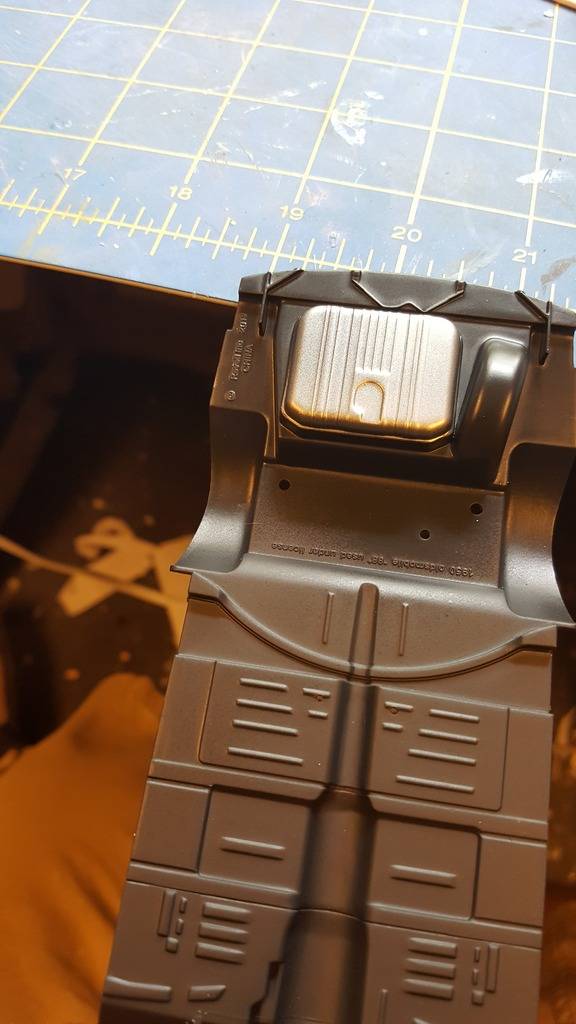
while that is soaking..i will mess with the floor pan a bit

gas tank needs to be a different color to stand out a bit

a touch of dark aluminum should do the trick

now for a change of hue on the straps

i know they wouldnt be copper but i like the color anyhow

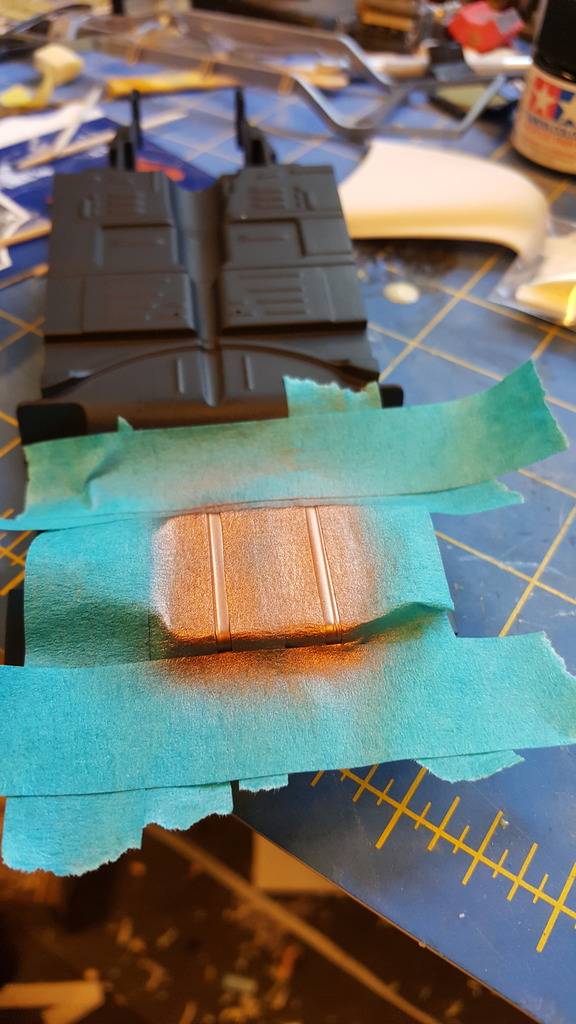
tank tweaked

with the frame set in place

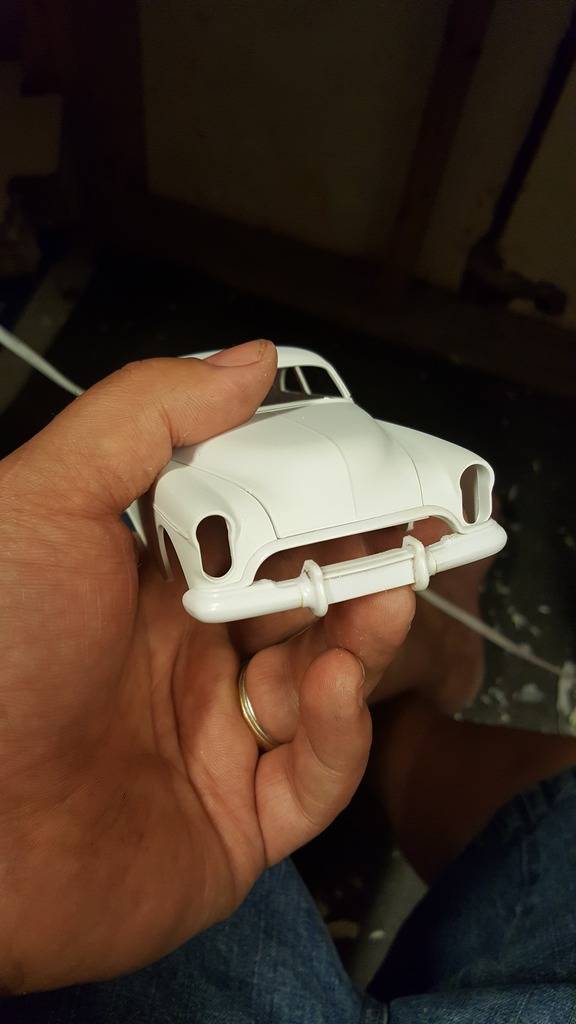
front bumper out of the pond

i like the cleaned up look
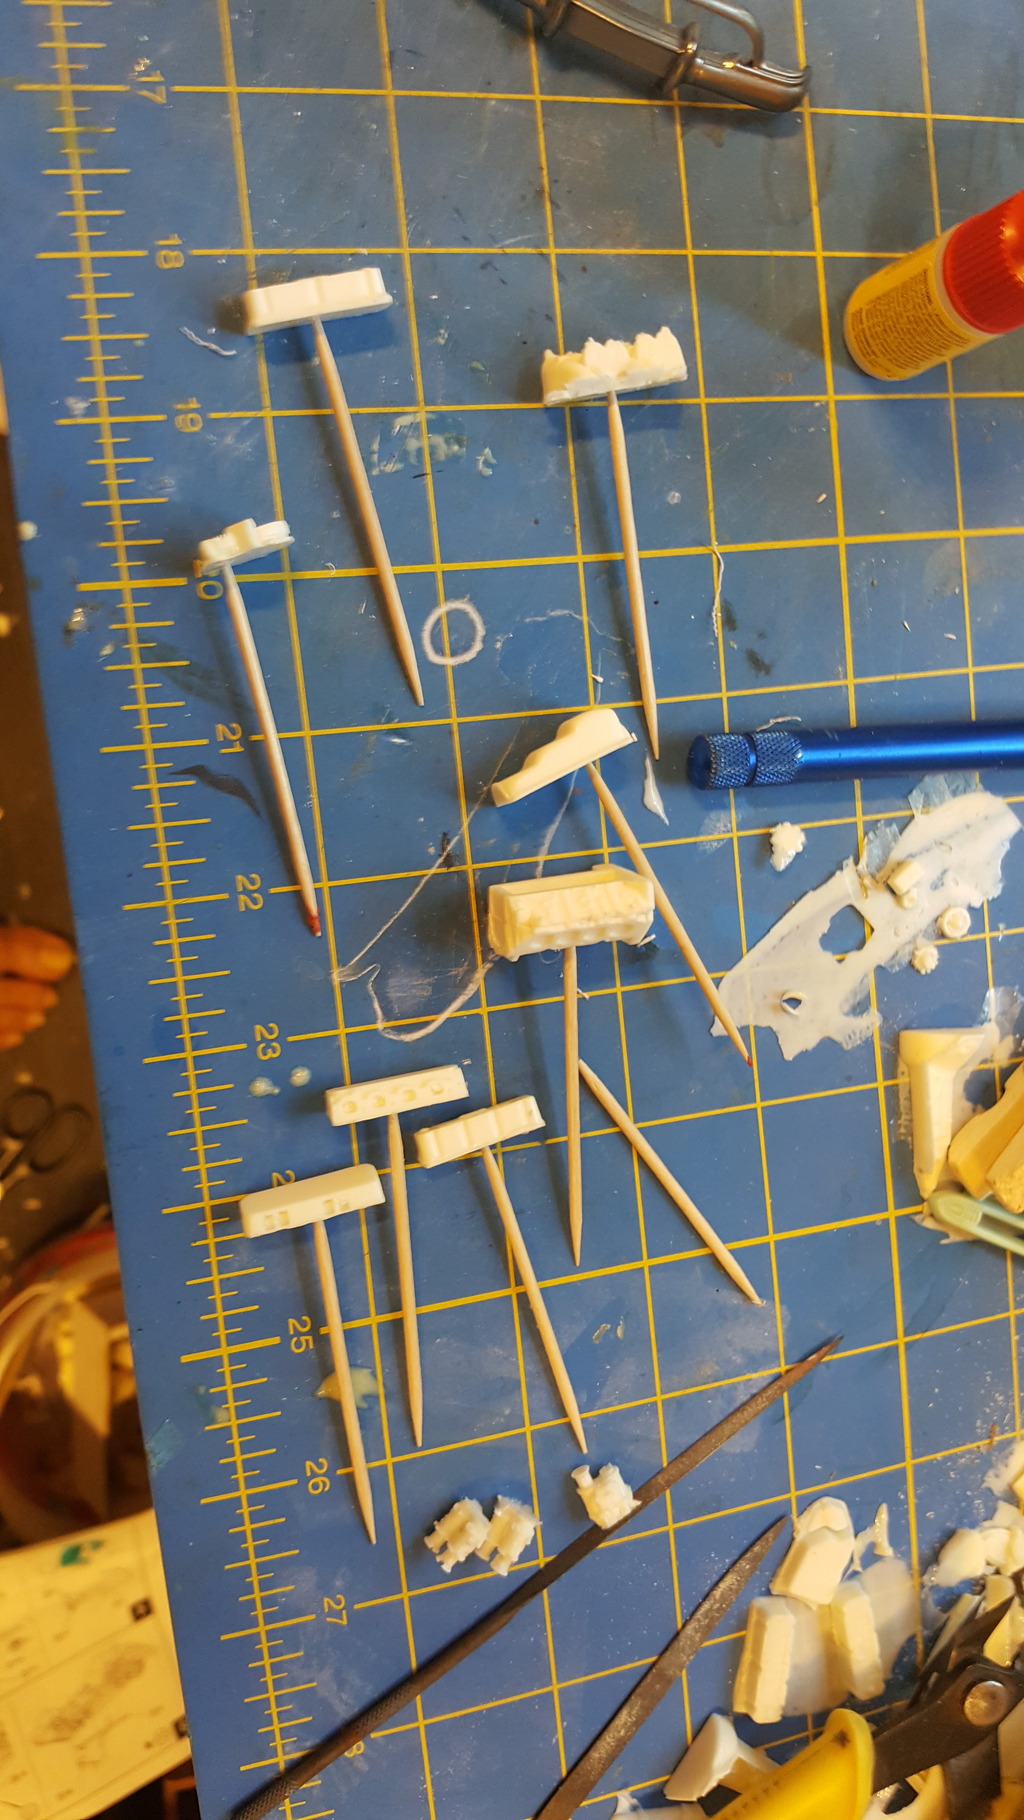
yanno i can never leave well enough alone, example: side trim....
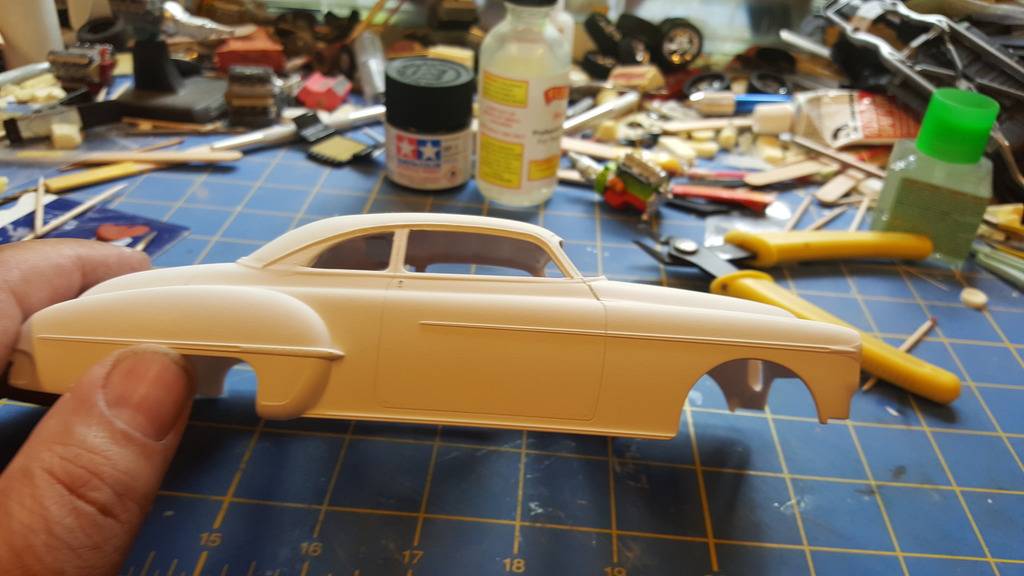
used a hobby blade followed with a file to remove the trim from the doors

sanded the area flush

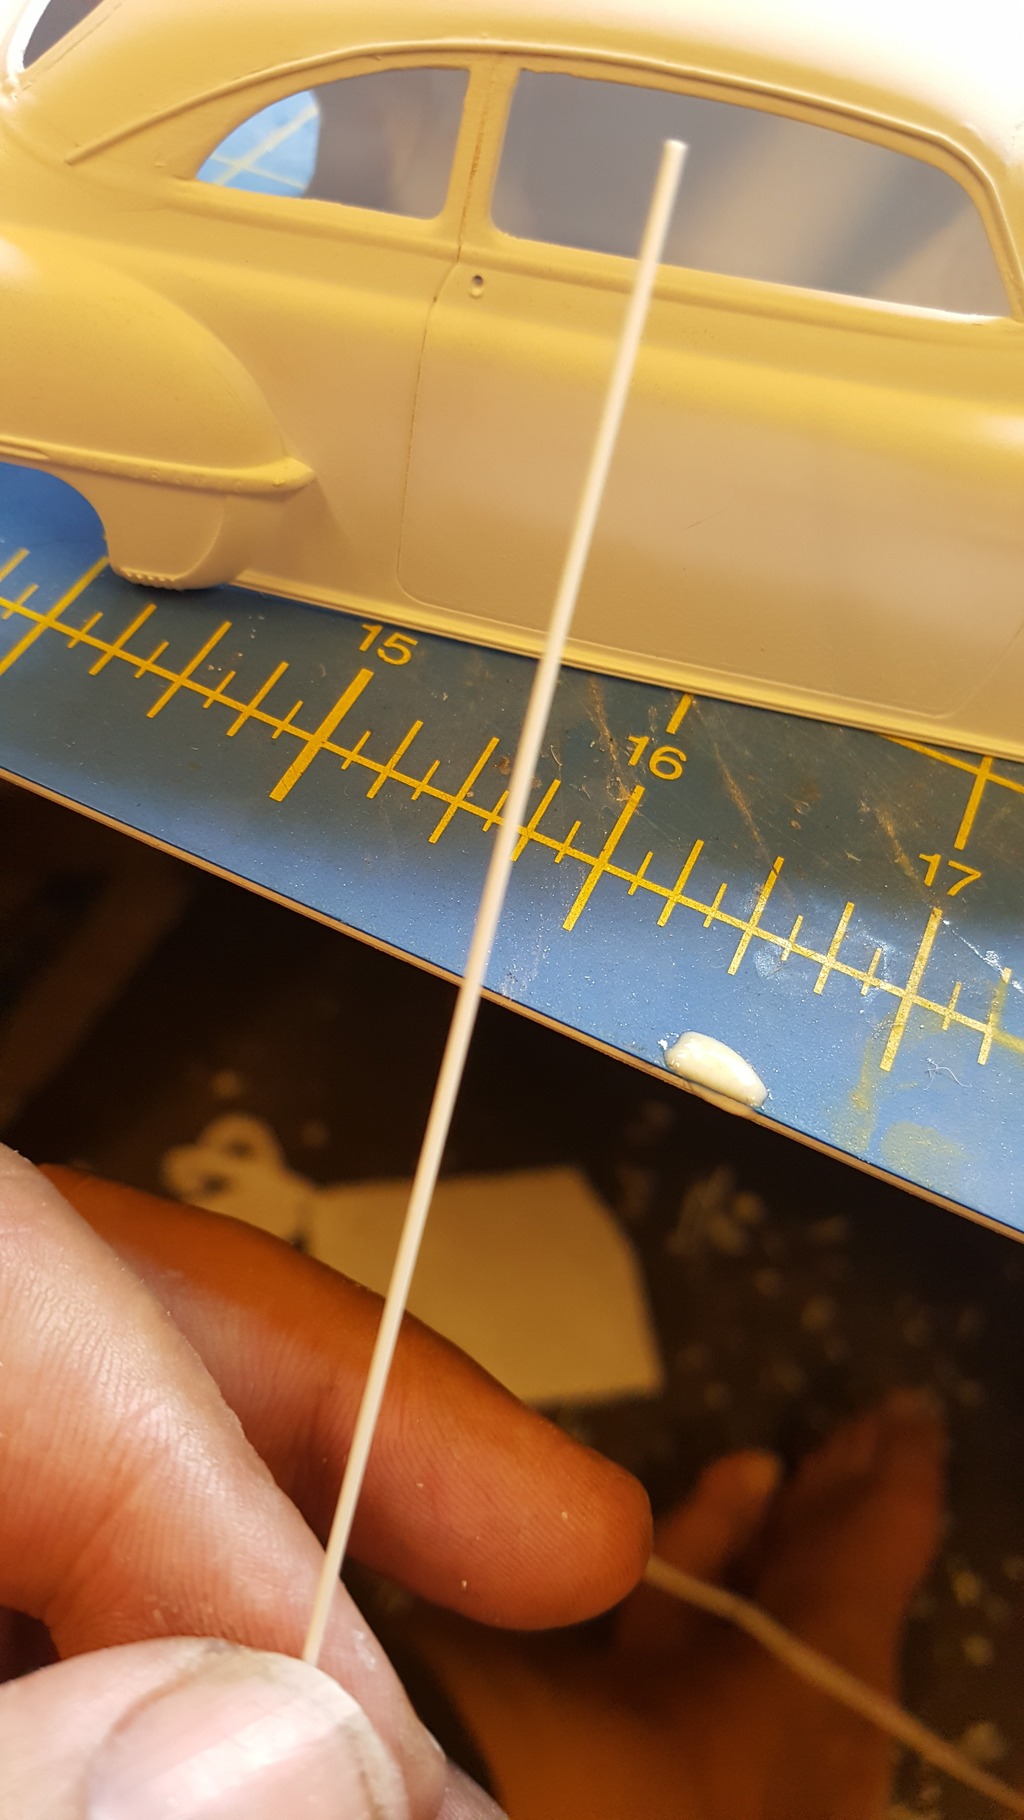
got some styrene stock about the same size as the trim
and using liquid cement i set it in place permanently
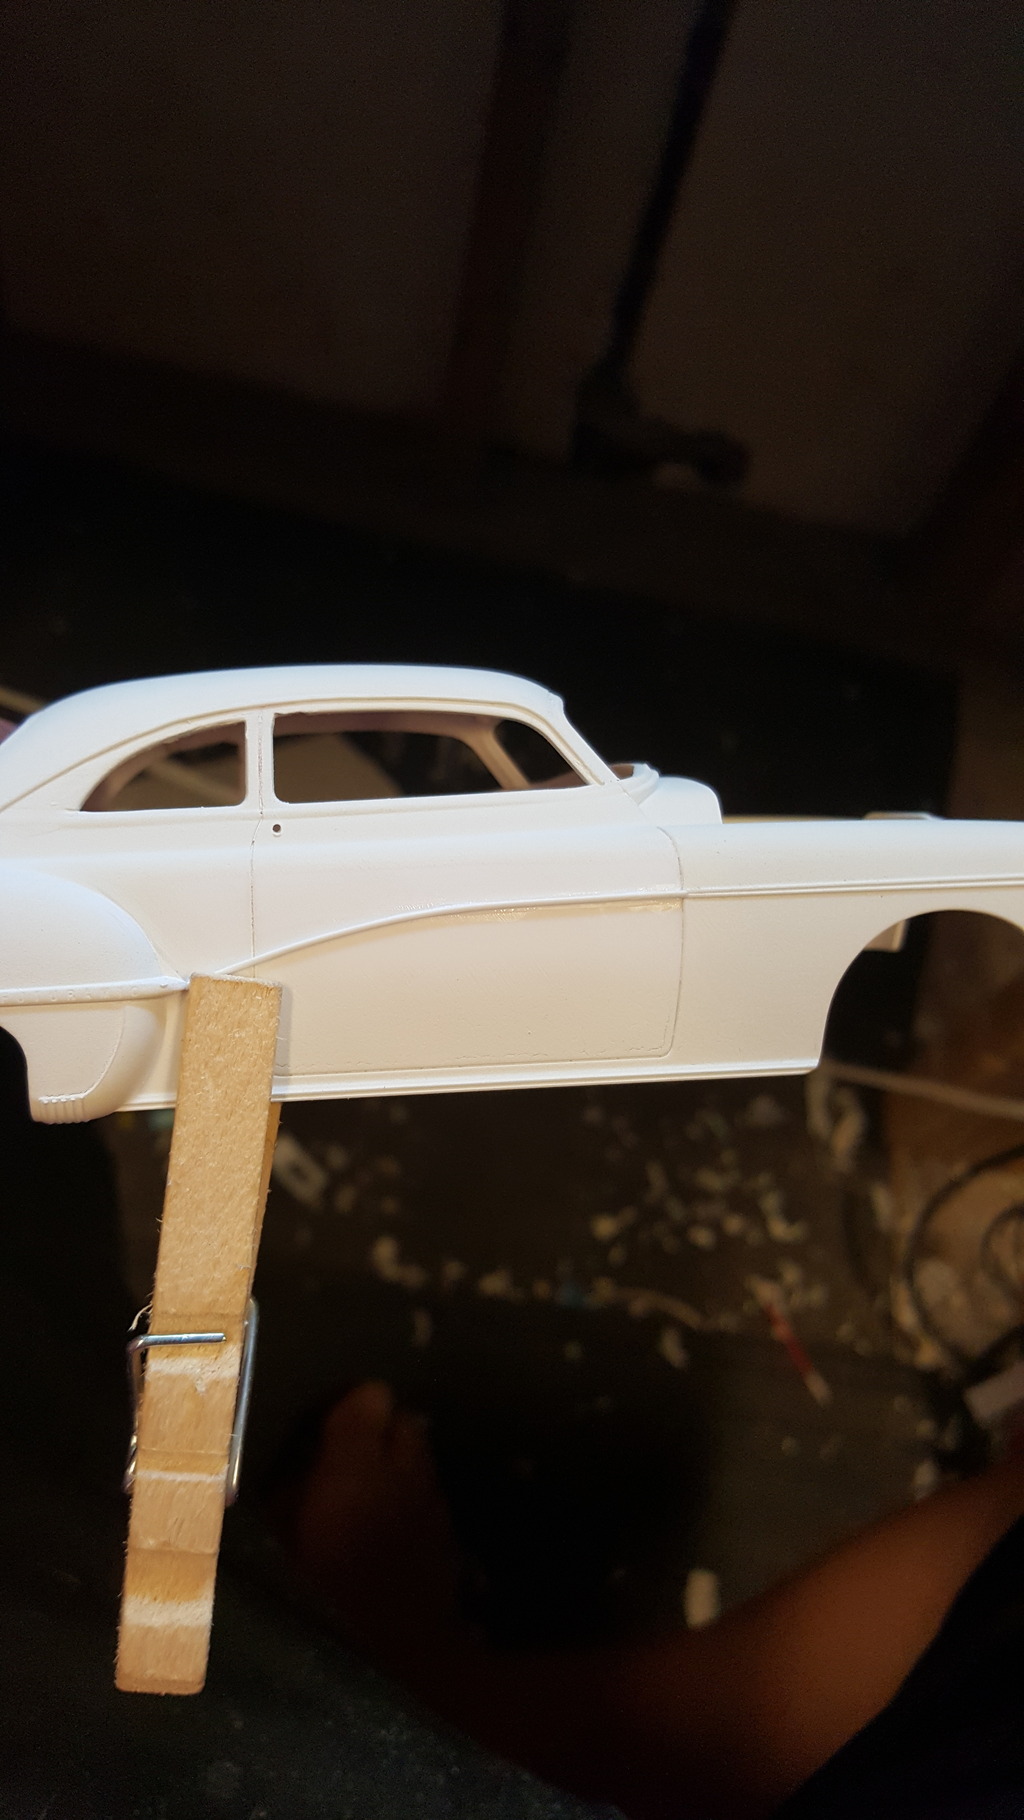
same for the other side

i like it and its different

dipped the rear bumper in the purple pond as well
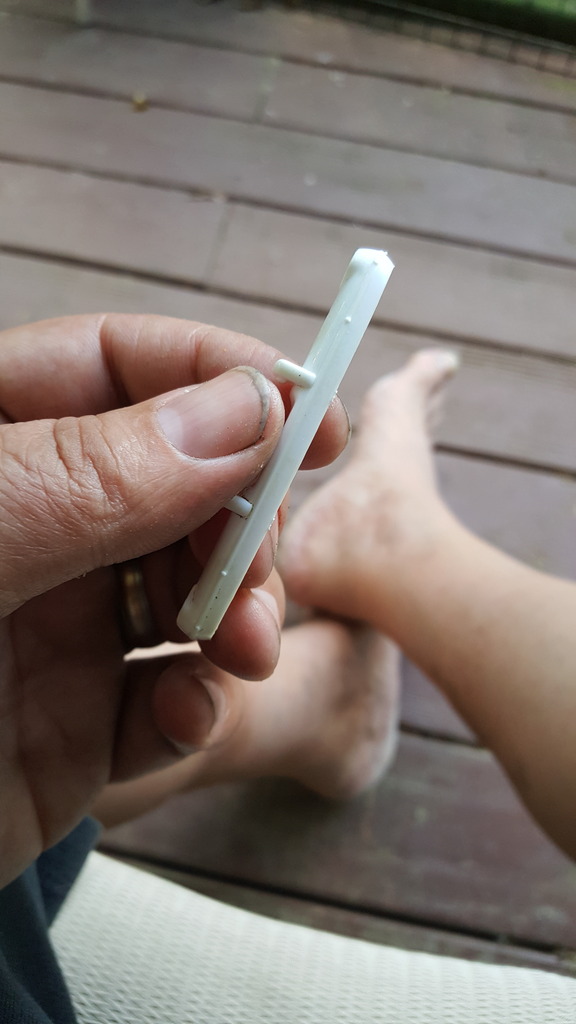
some sanding with 1000 grit to remove the mold lines

dont like the lil push bars....

lets get rid of em
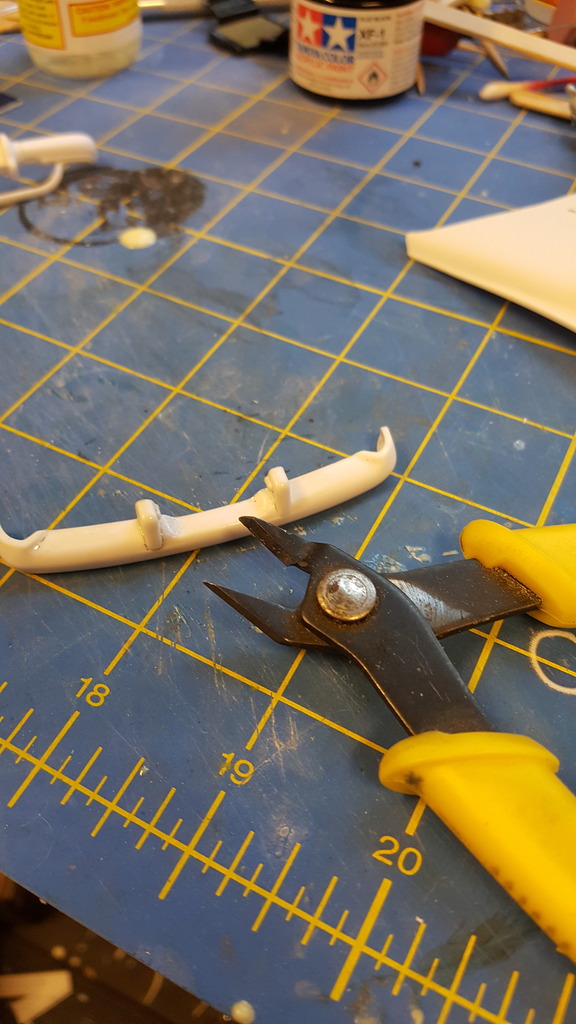
snipped them off

then sanded everything flush

looks alot cleaner on the back end now


since i am on the fence about color matching the bumpers or hitting them with spray chrome, i will spray them and see how they look and if i dont like em, i will send them to the pond and color match them later
lets see how this chrome turns out

applied over a gloss black base, its not far off at all and looks more realistic than the kit chrome

time for a test fit of the engine


small problem..........

apparently i should not have added the exhaust manifolds until it was in the frame and ready to be glued into place.....meh
after a bit of deliberation...that motor will be set aside and since this is a custom, its gonna get a custom motor
time to open up the engine bay a bit

out came the dremel

and prepping a different resin block for the paint booth
will have to wait till next update to see where this one goes..
cya then
decided i am gonna clean up the original bumper and tweak it a bit

i removed the center bar to clean things up

used a file to remove flash and clean up the back side of it

then it is off for a soak in the purple pond

while that is soaking..i will mess with the floor pan a bit

gas tank needs to be a different color to stand out a bit

a touch of dark aluminum should do the trick


now for a change of hue on the straps

i know they wouldnt be copper but i like the color anyhow


tank tweaked

with the frame set in place

front bumper out of the pond

i like the cleaned up look

yanno i can never leave well enough alone, example: side trim....

used a hobby blade followed with a file to remove the trim from the doors

sanded the area flush

got some styrene stock about the same size as the trim

and using liquid cement i set it in place permanently

same for the other side

i like it and its different

dipped the rear bumper in the purple pond as well

some sanding with 1000 grit to remove the mold lines

dont like the lil push bars....

lets get rid of em

snipped them off

then sanded everything flush

looks alot cleaner on the back end now


since i am on the fence about color matching the bumpers or hitting them with spray chrome, i will spray them and see how they look and if i dont like em, i will send them to the pond and color match them later
lets see how this chrome turns out

applied over a gloss black base, its not far off at all and looks more realistic than the kit chrome

time for a test fit of the engine


small problem..........

apparently i should not have added the exhaust manifolds until it was in the frame and ready to be glued into place.....meh
after a bit of deliberation...that motor will be set aside and since this is a custom, its gonna get a custom motor
time to open up the engine bay a bit

out came the dremel

and prepping a different resin block for the paint booth

will have to wait till next update to see where this one goes..
cya then
Page 3 of 5 • 1, 2, 3, 4, 5
Permissions in this forum:
You cannot reply to topics in this forum|
|
|