
 KitbashAdmin
- Posts : 276
Join date : 2015-01-25
Age : 54
Location : Georgia 
 Re: 71 Cuda - Kitbash
Mon Apr 13, 2015 12:34 am
ok so i felt guilty and snuck 20 mins in the hobby room this evening just to get an update up
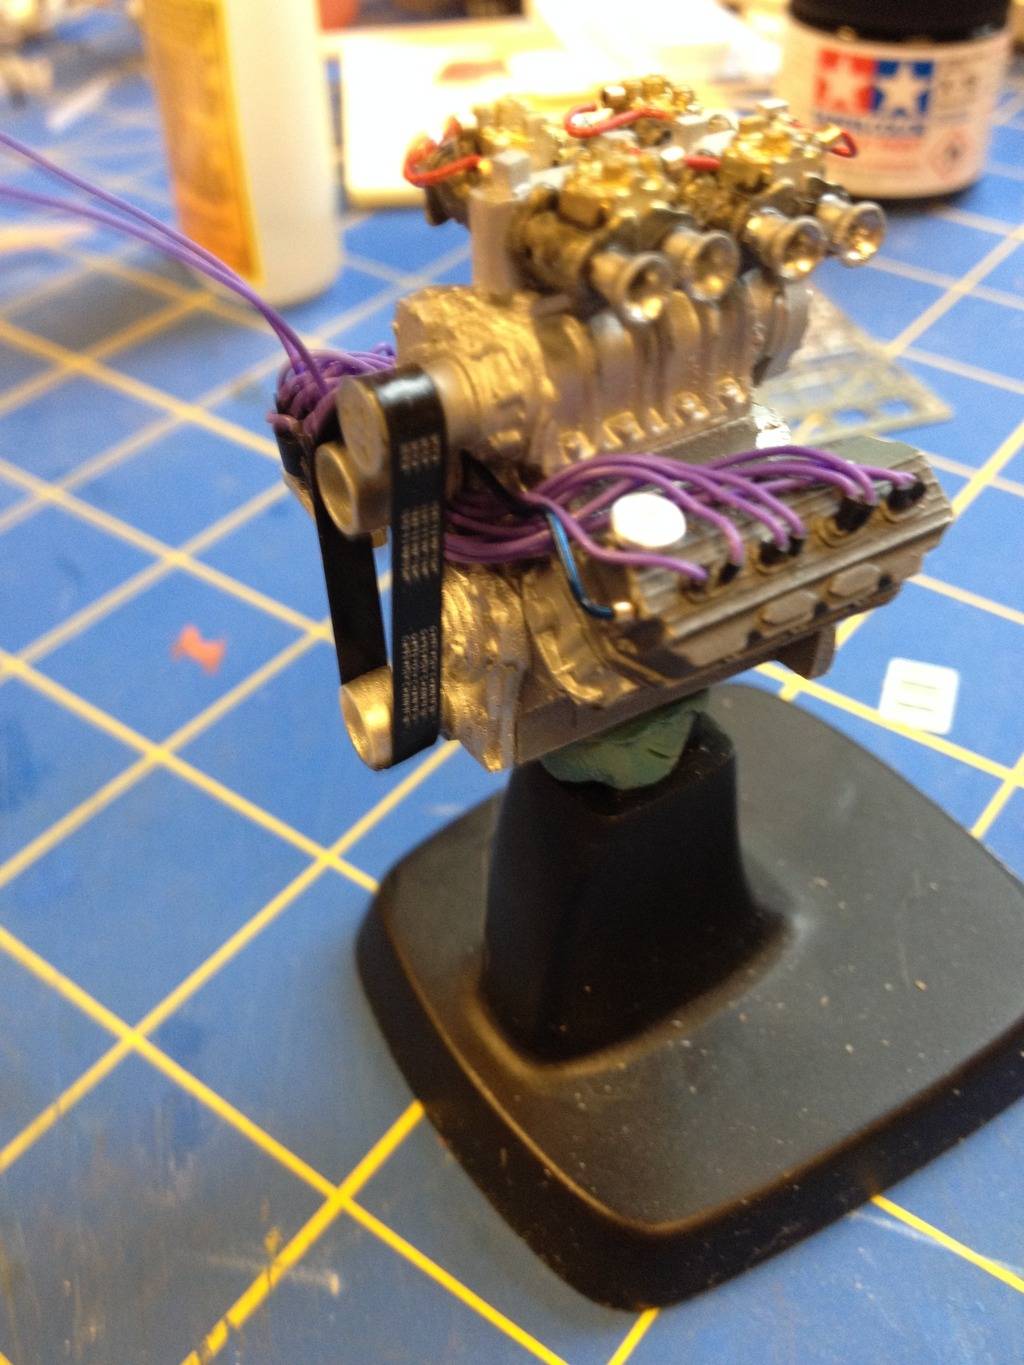
ran the ignition wires

couple more views as i tuck them in where they belong
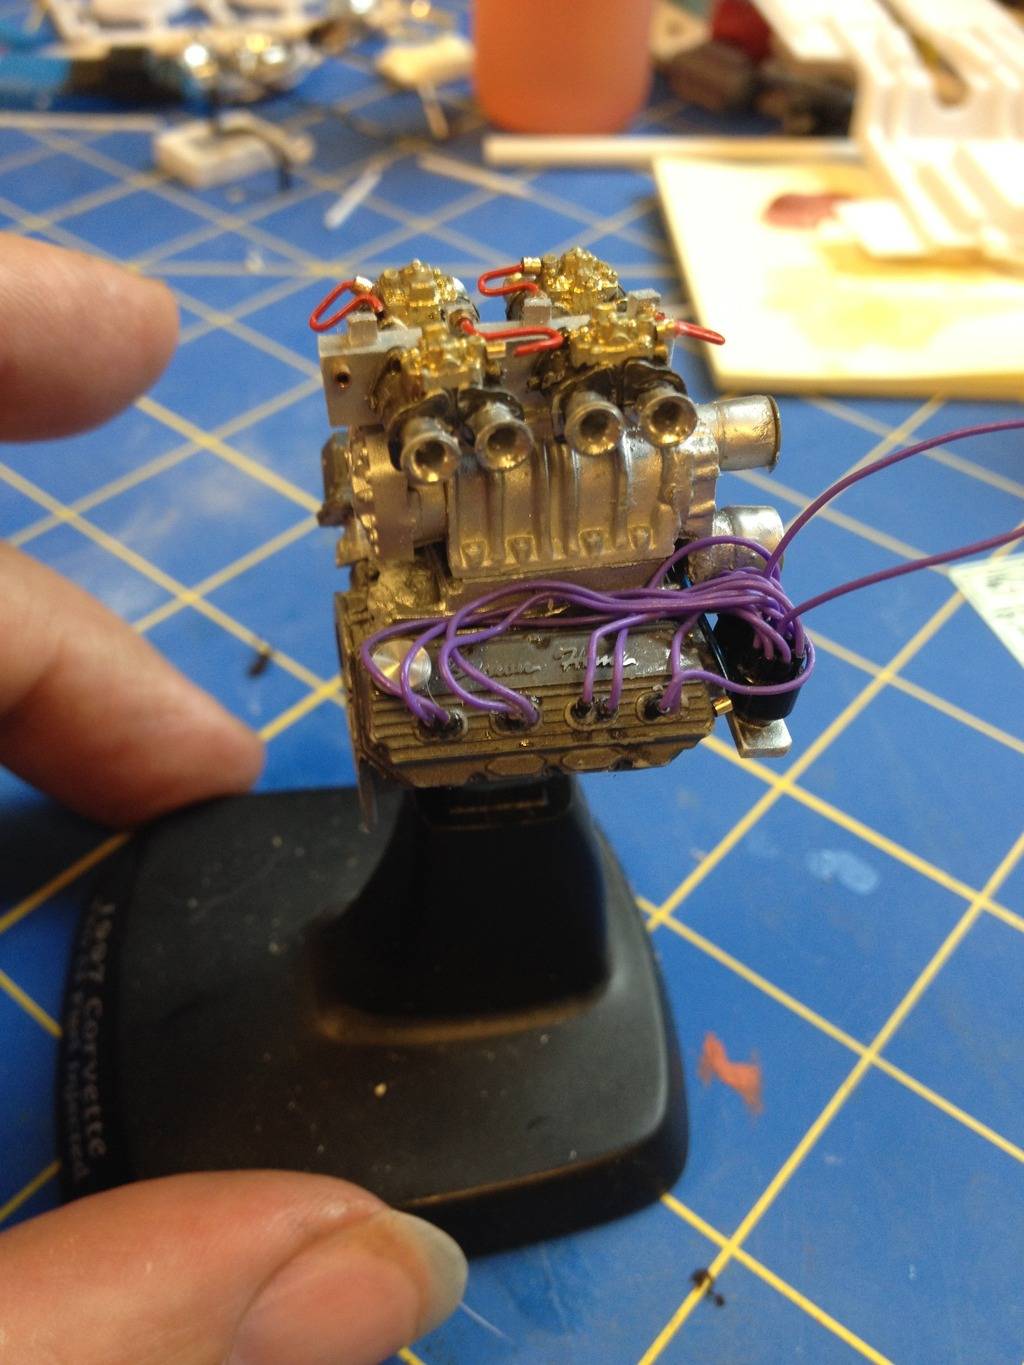
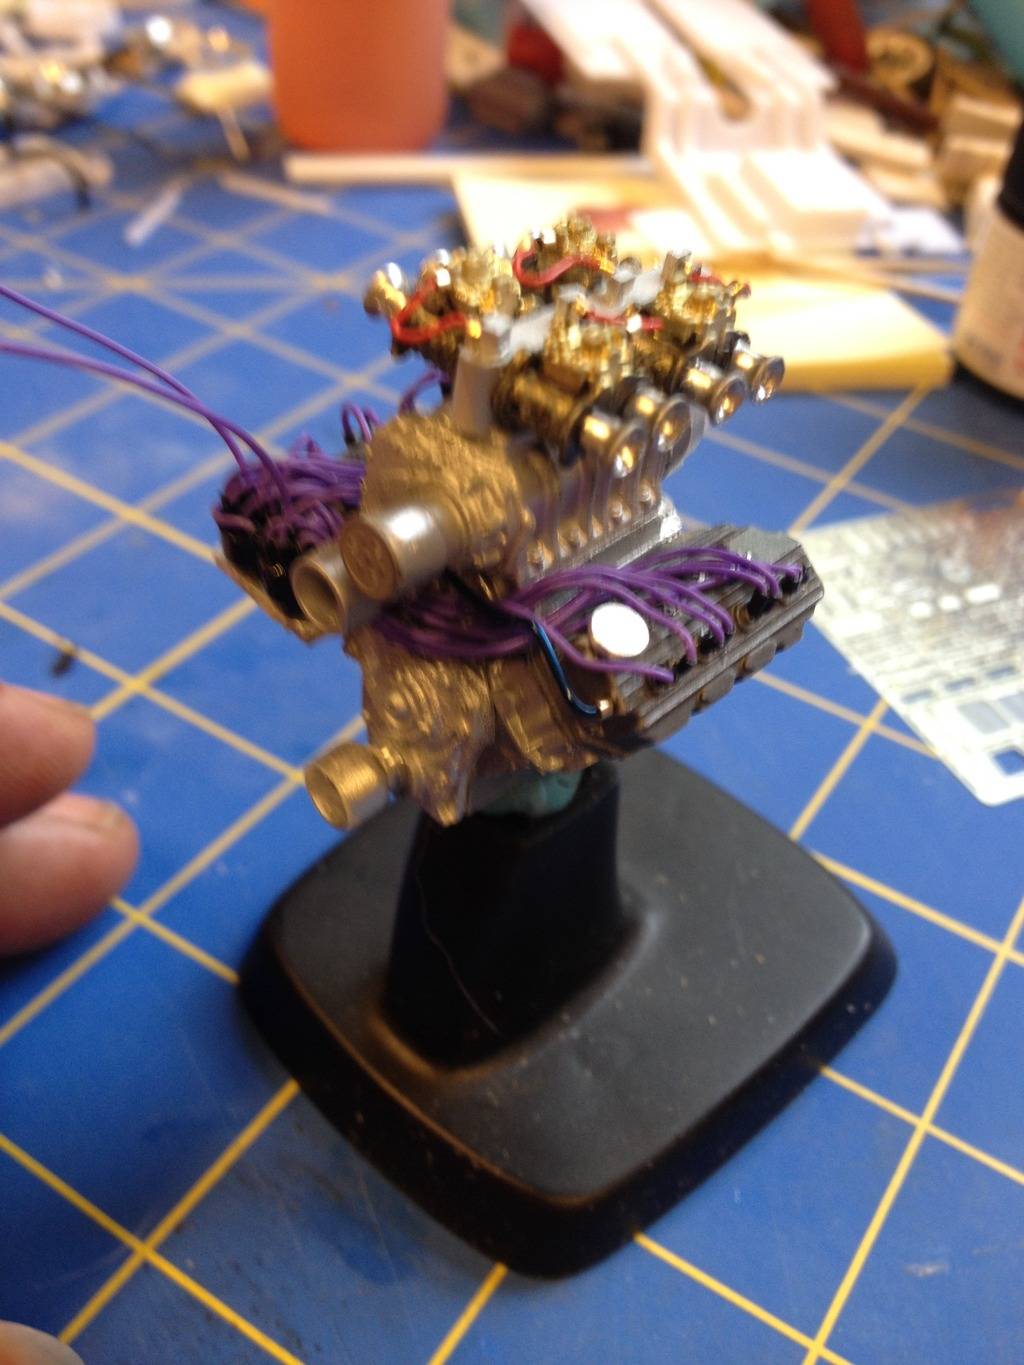
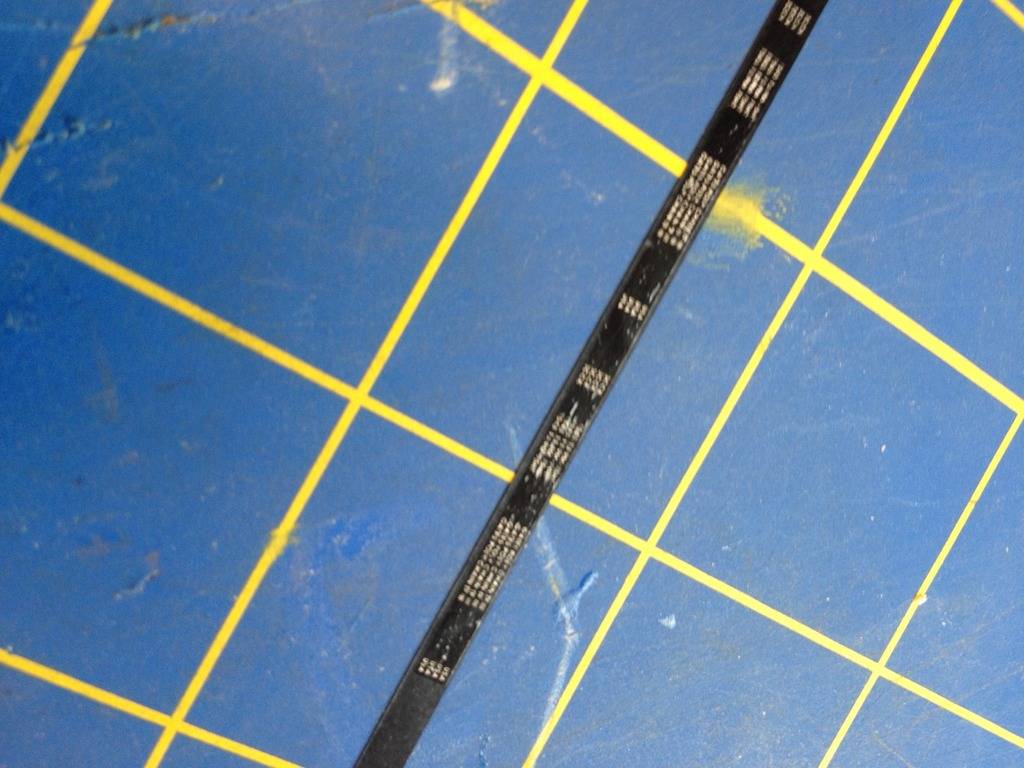
Now i need a blower belt..... how bout some electrical tape....?
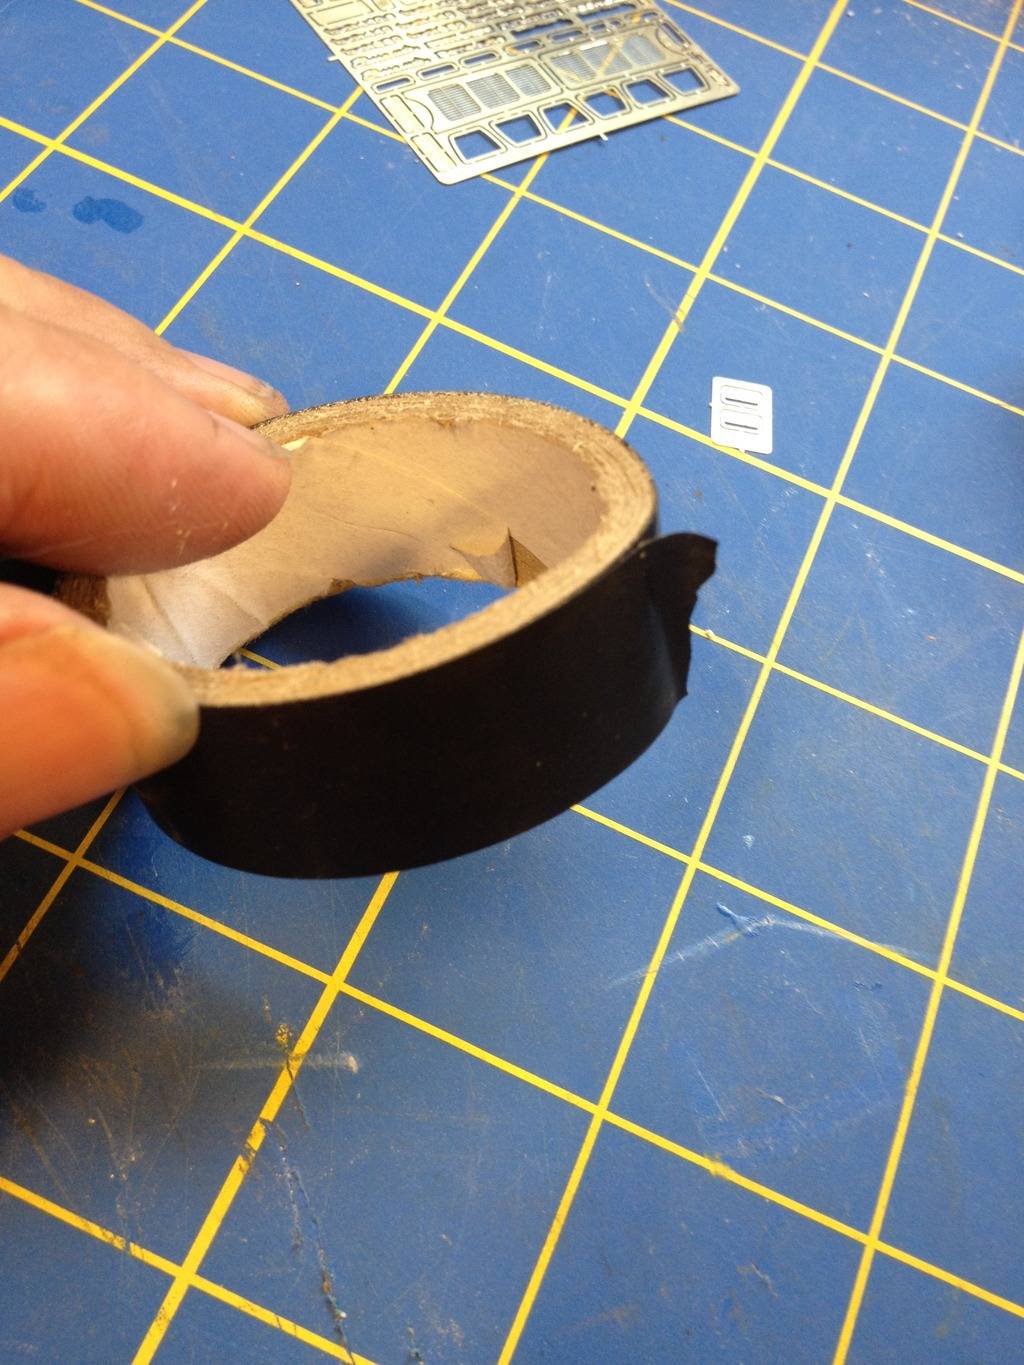
i stick it to my cutting mat first

then i use a metal straight edge to cut it down to the width i want

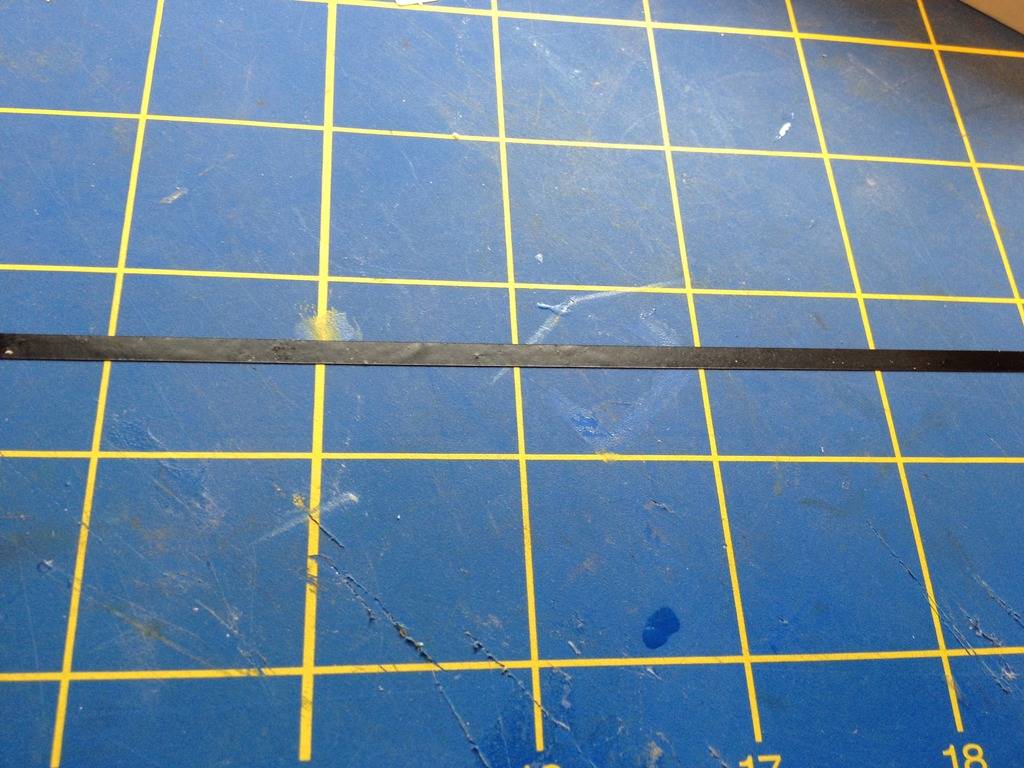
now since i have the width set, i grab a slixx decal sheet to dress it up a bit
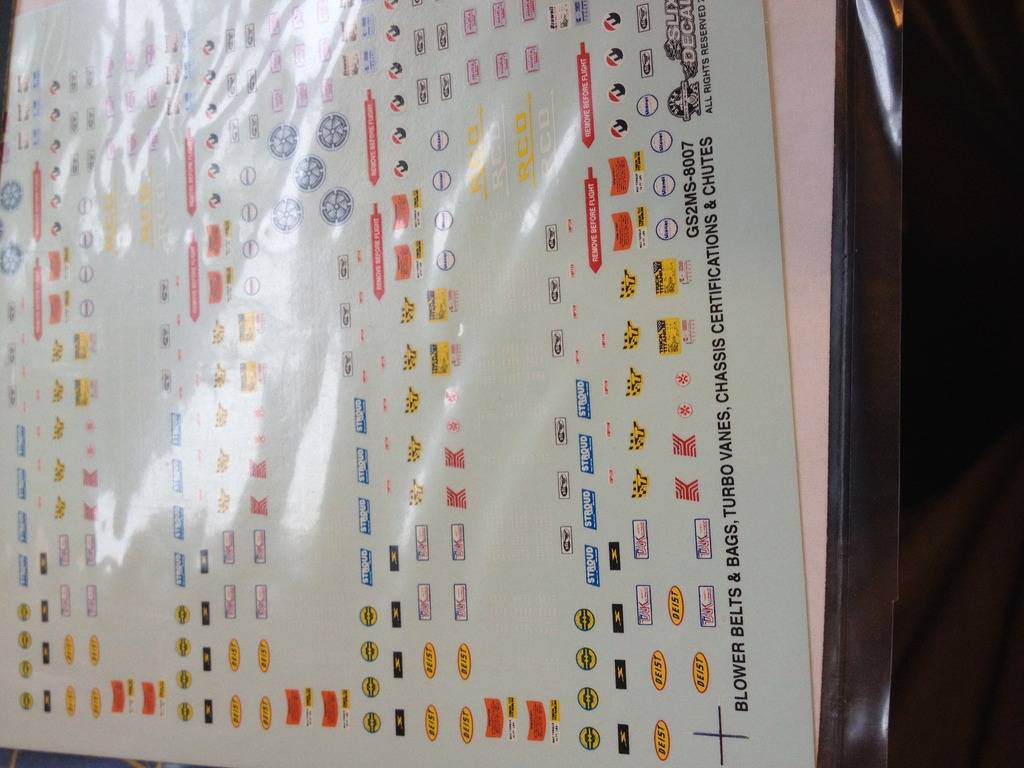
it is hard to see here, but gimme a minute....

decal in place
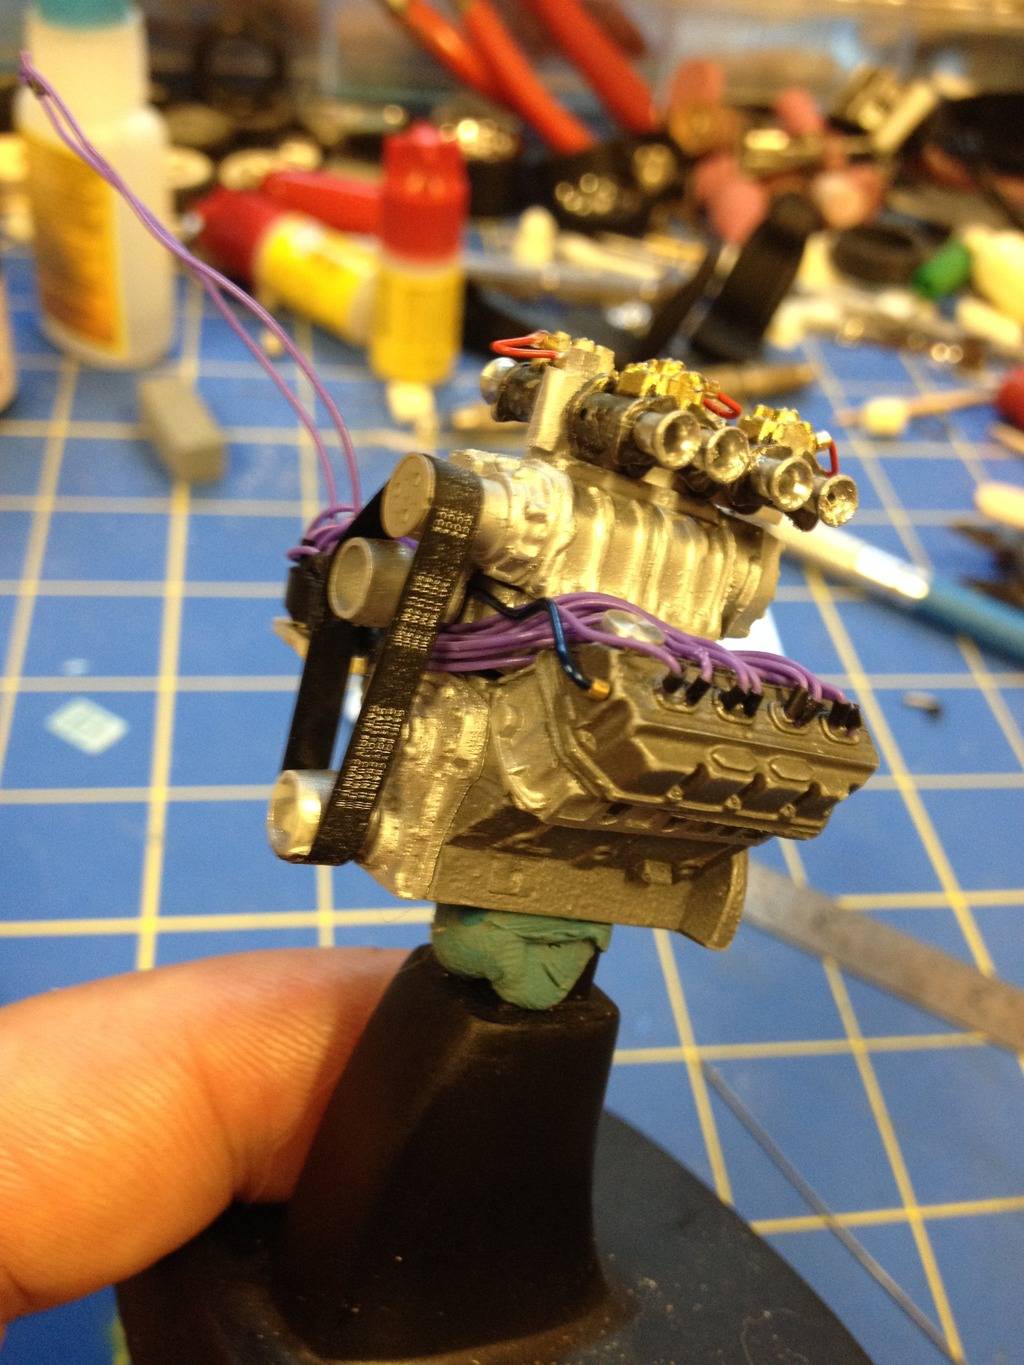
using just a very small bit of super glue on each pulley i get the belt in place and trim off the excess with a sharp hobby blade
tis a bit shiny so i will tone it down a bit with this

once the dull coat is dried...
ok thats about it for the 20 min run lol.. cya in a day or so
ran the ignition wires
couple more views as i tuck them in where they belong
Now i need a blower belt..... how bout some electrical tape....?
i stick it to my cutting mat first
then i use a metal straight edge to cut it down to the width i want
now since i have the width set, i grab a slixx decal sheet to dress it up a bit
it is hard to see here, but gimme a minute....
decal in place
using just a very small bit of super glue on each pulley i get the belt in place and trim off the excess with a sharp hobby blade
tis a bit shiny so i will tone it down a bit with this
once the dull coat is dried...
ok thats about it for the 20 min run lol.. cya in a day or so
 Custom Mike
- Posts : 273
Join date : 2015-01-26
Age : 60
Location : North Carolina
Re: 71 Cuda - Kitbash
Tue Apr 14, 2015 1:40 am
Nice mini-tutorial on the belt, one day I'll use that one! But that mean I'll have to buy more decals and lose track of where they're at...man, you're gonna ruin me!
 Rhodes
- Posts : 55
Join date : 2015-01-26
Age : 59
Location : Conneautville, PA
Re: 71 Cuda - Kitbash
Wed Apr 15, 2015 3:49 pm
I like that blower belt idea.
- KitbashAdmin
- Posts : 276
Join date : 2015-01-25
Age : 54
Location : Georgia
Re: 71 Cuda - Kitbash
Sun Apr 19, 2015 4:20 pm
ok time to play around a bit again lol
decided to add the rear window handles from the PE sheet
was gonna paint them to dull them out a bit but i kinda like them plain metal color
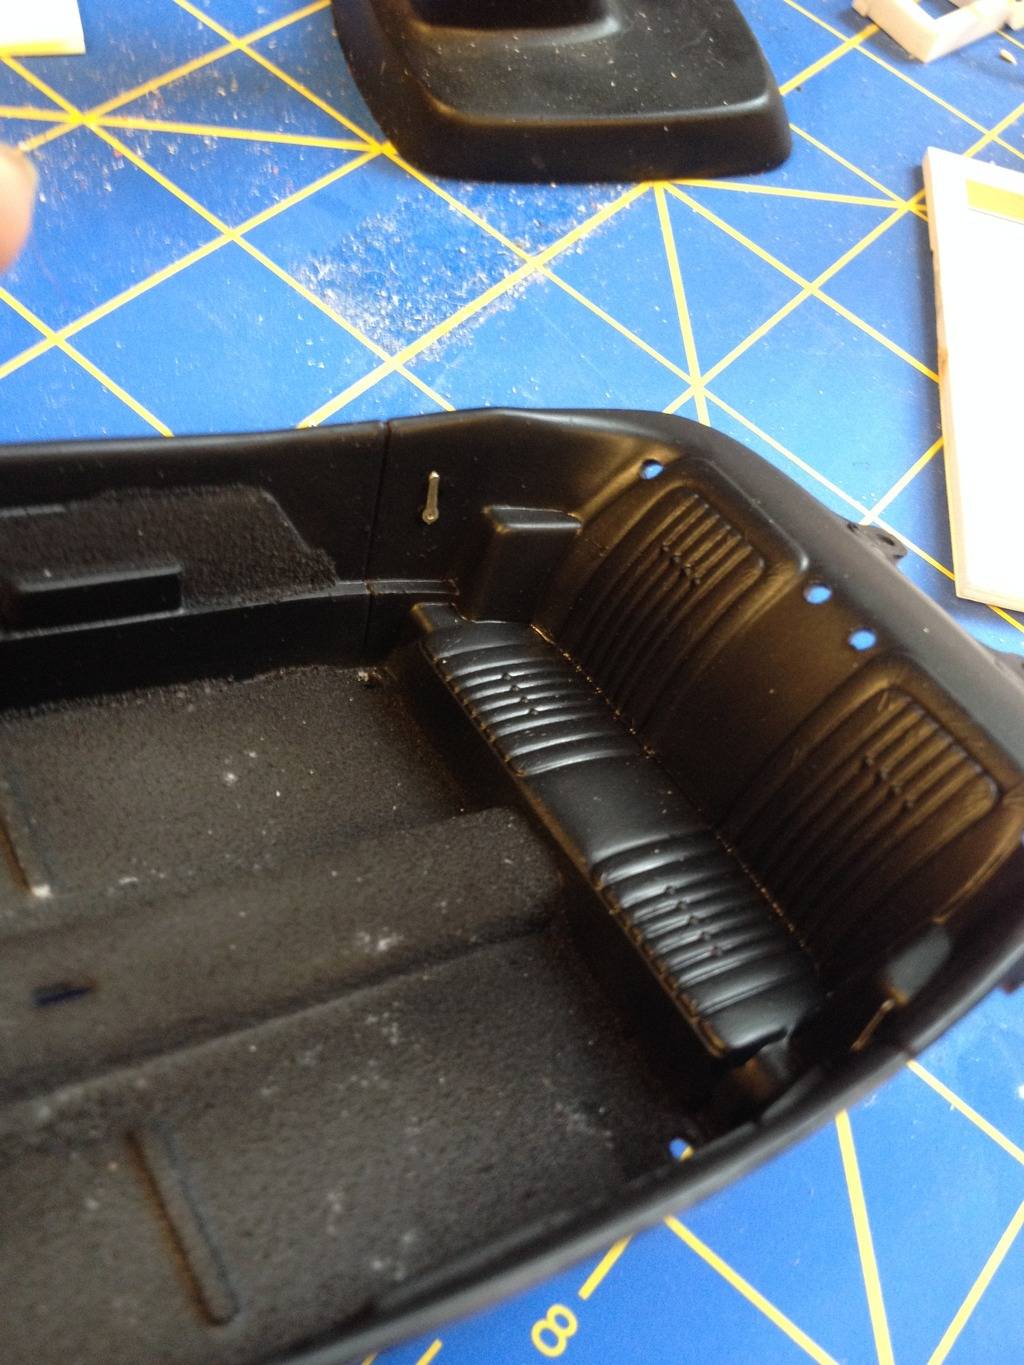
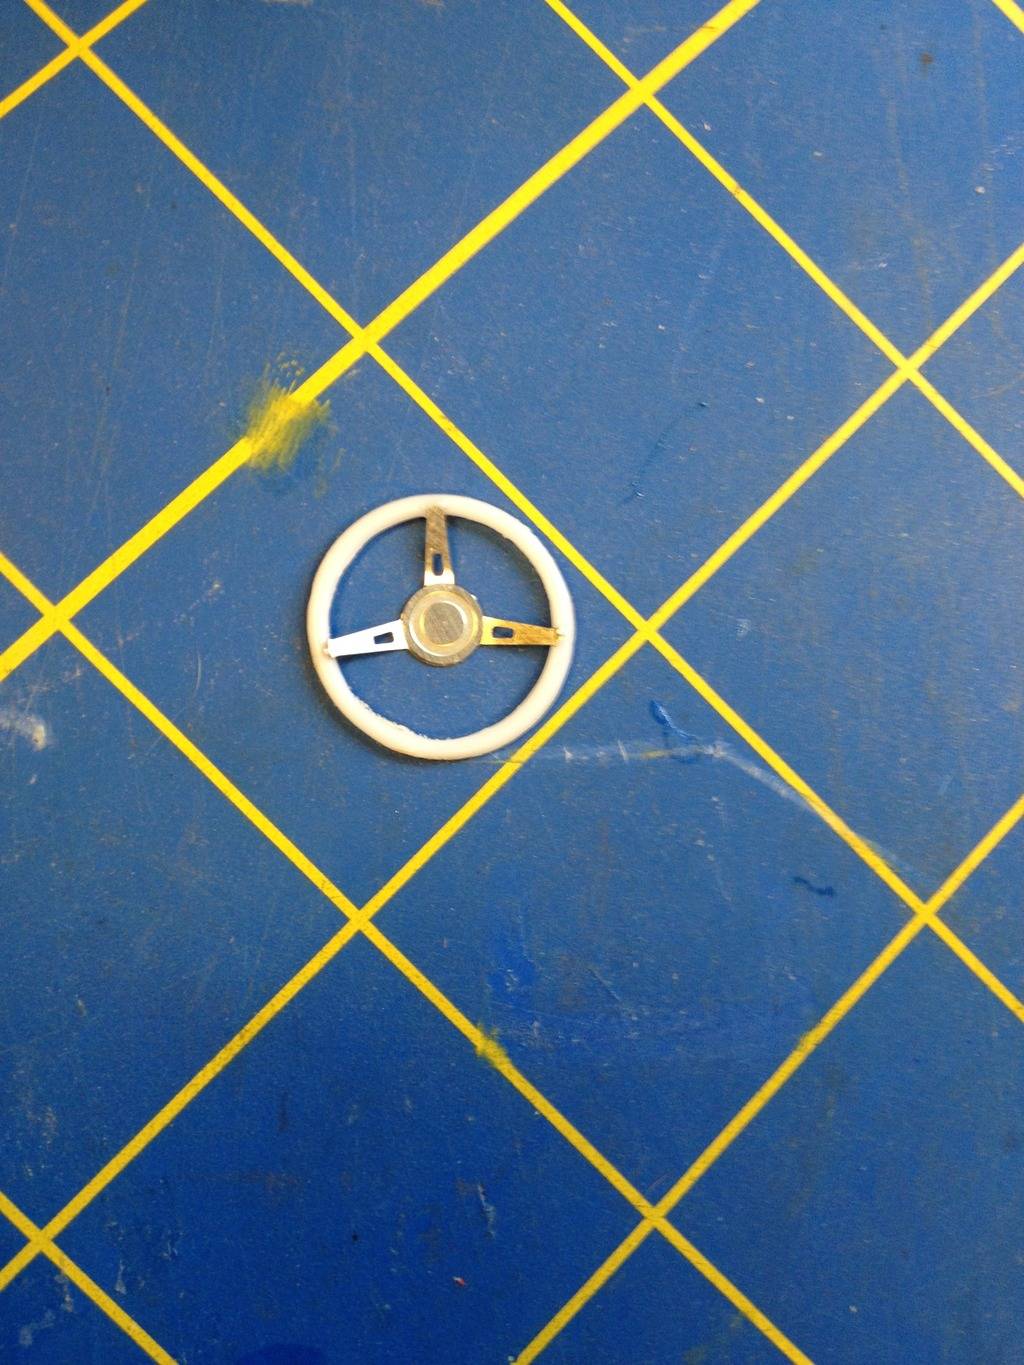
now onto the steering wheel

hmmmmmm

out comes the center section

i cleaned up the outer ring with a rat tail file
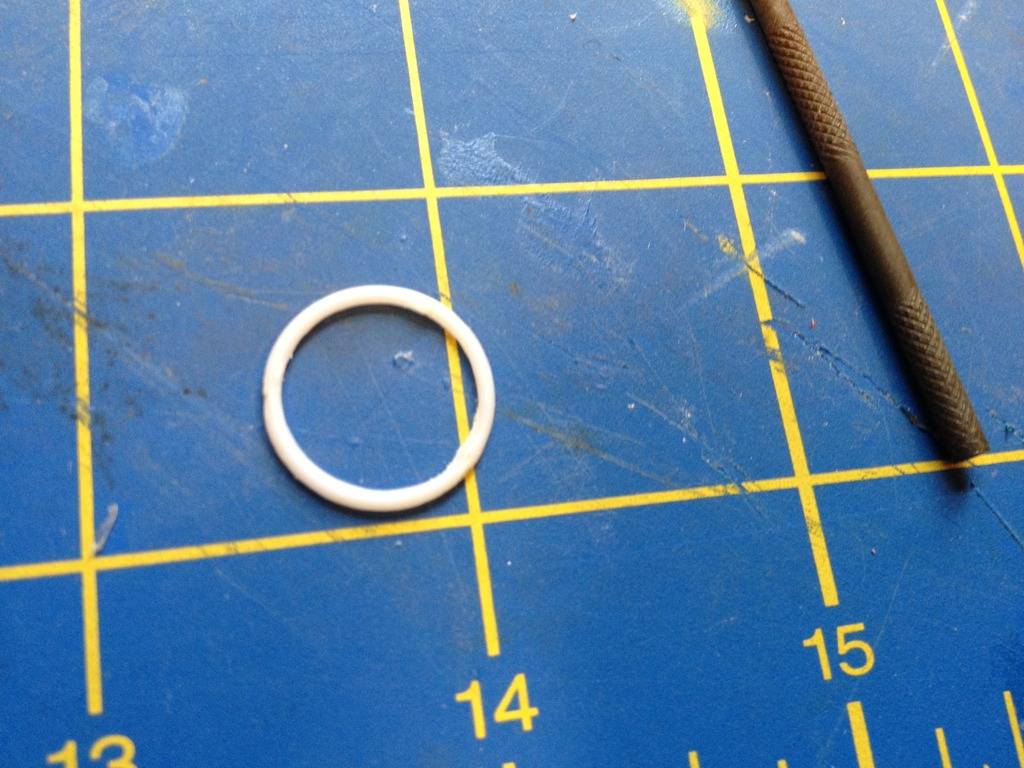
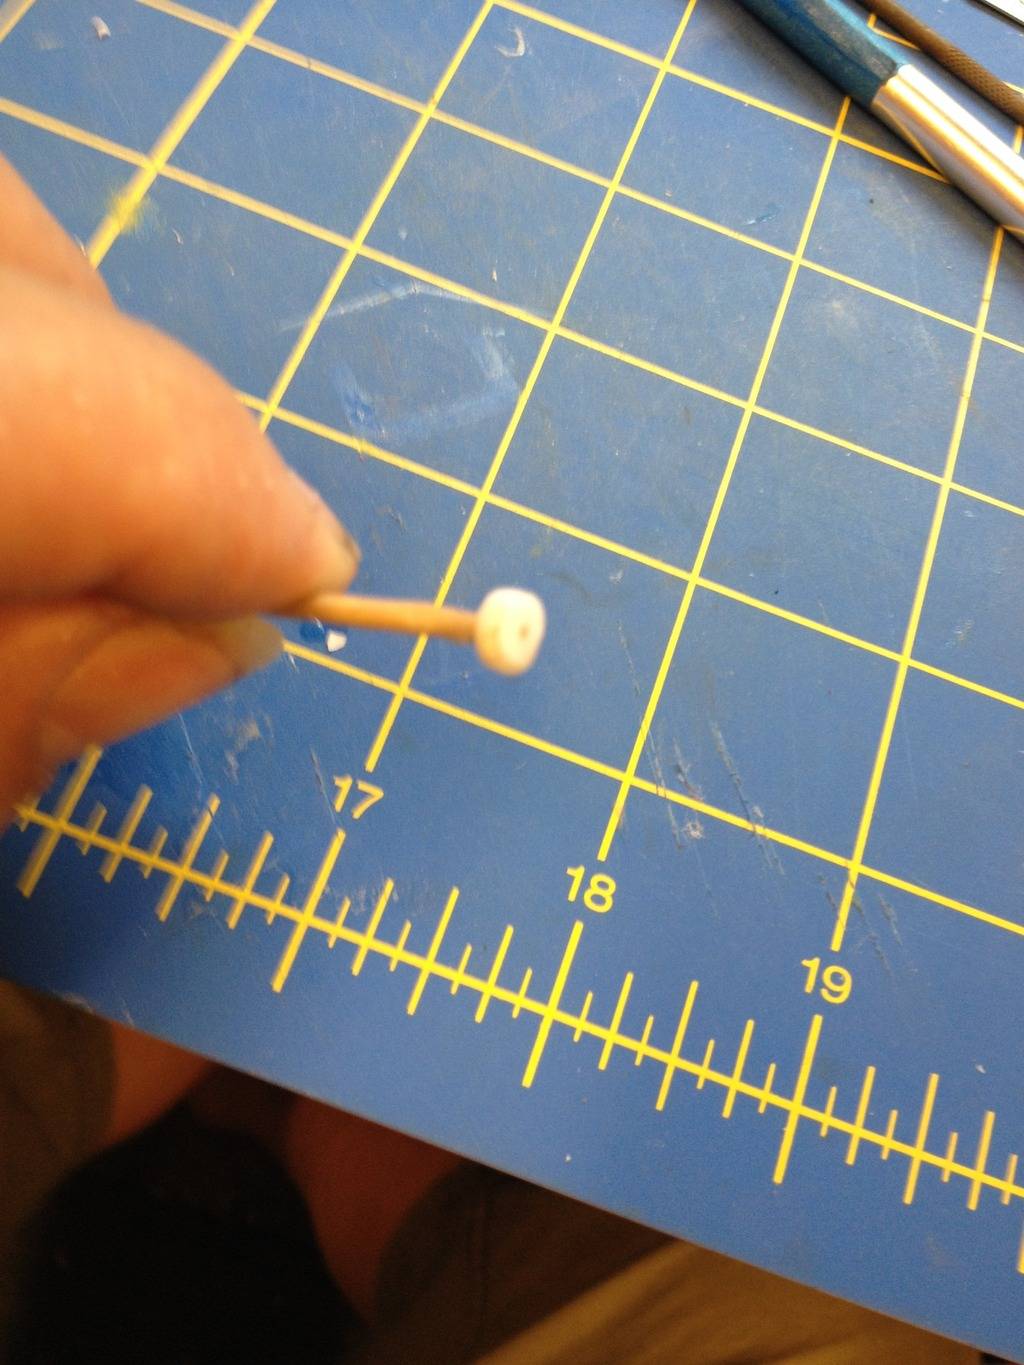
now i know i will have to attach the wheel in place when i am done so i cut the center mount section off the kit wheel and sand the edges down to act as my base
i bent the arms of the wheel center a bit to look right
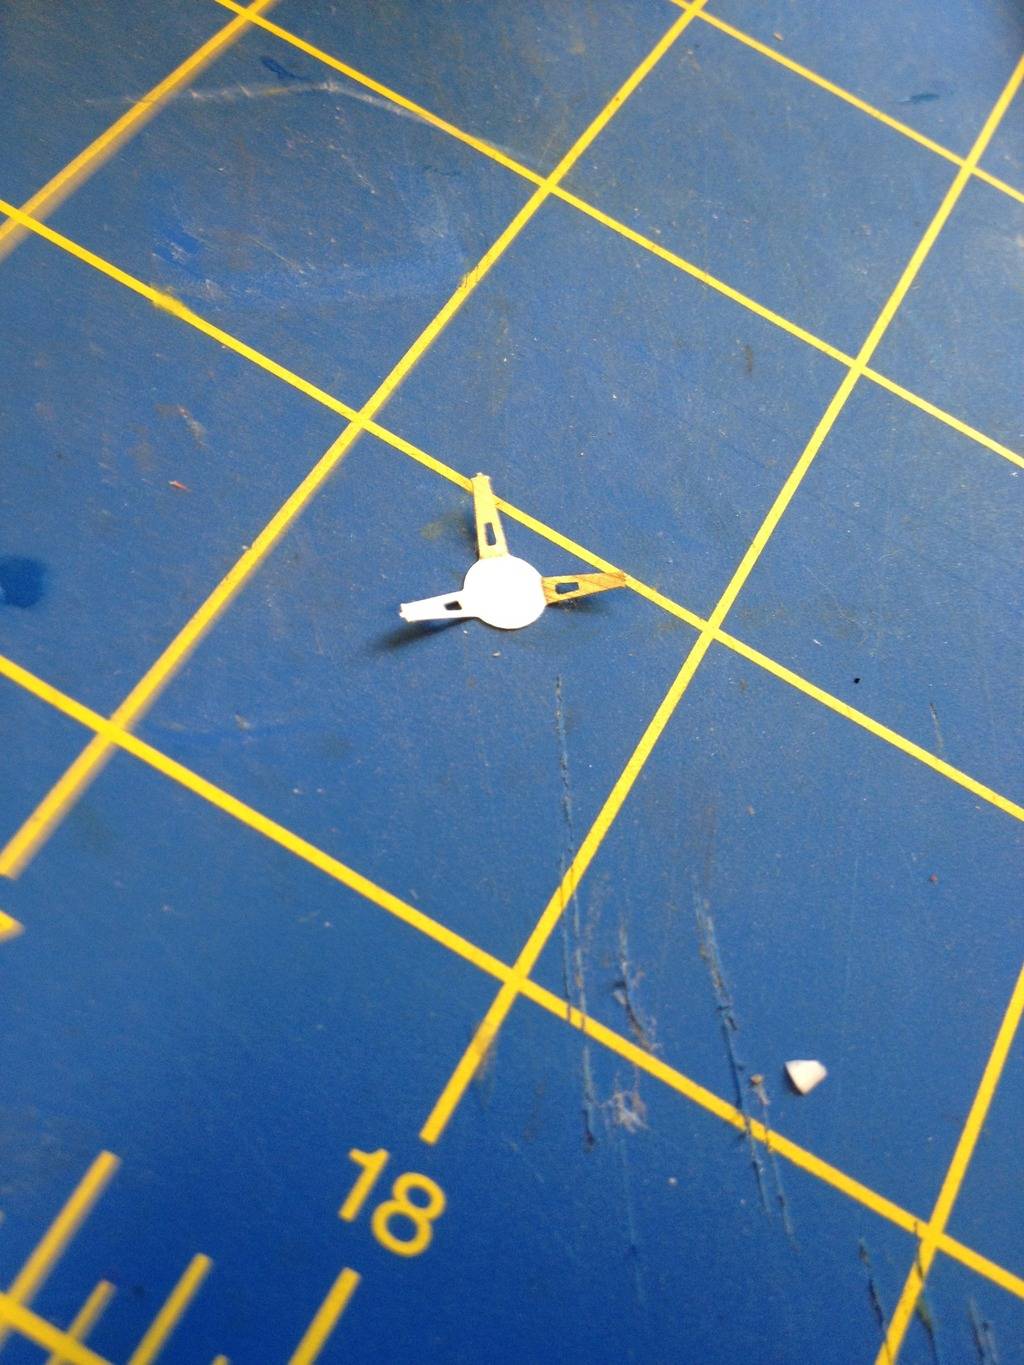
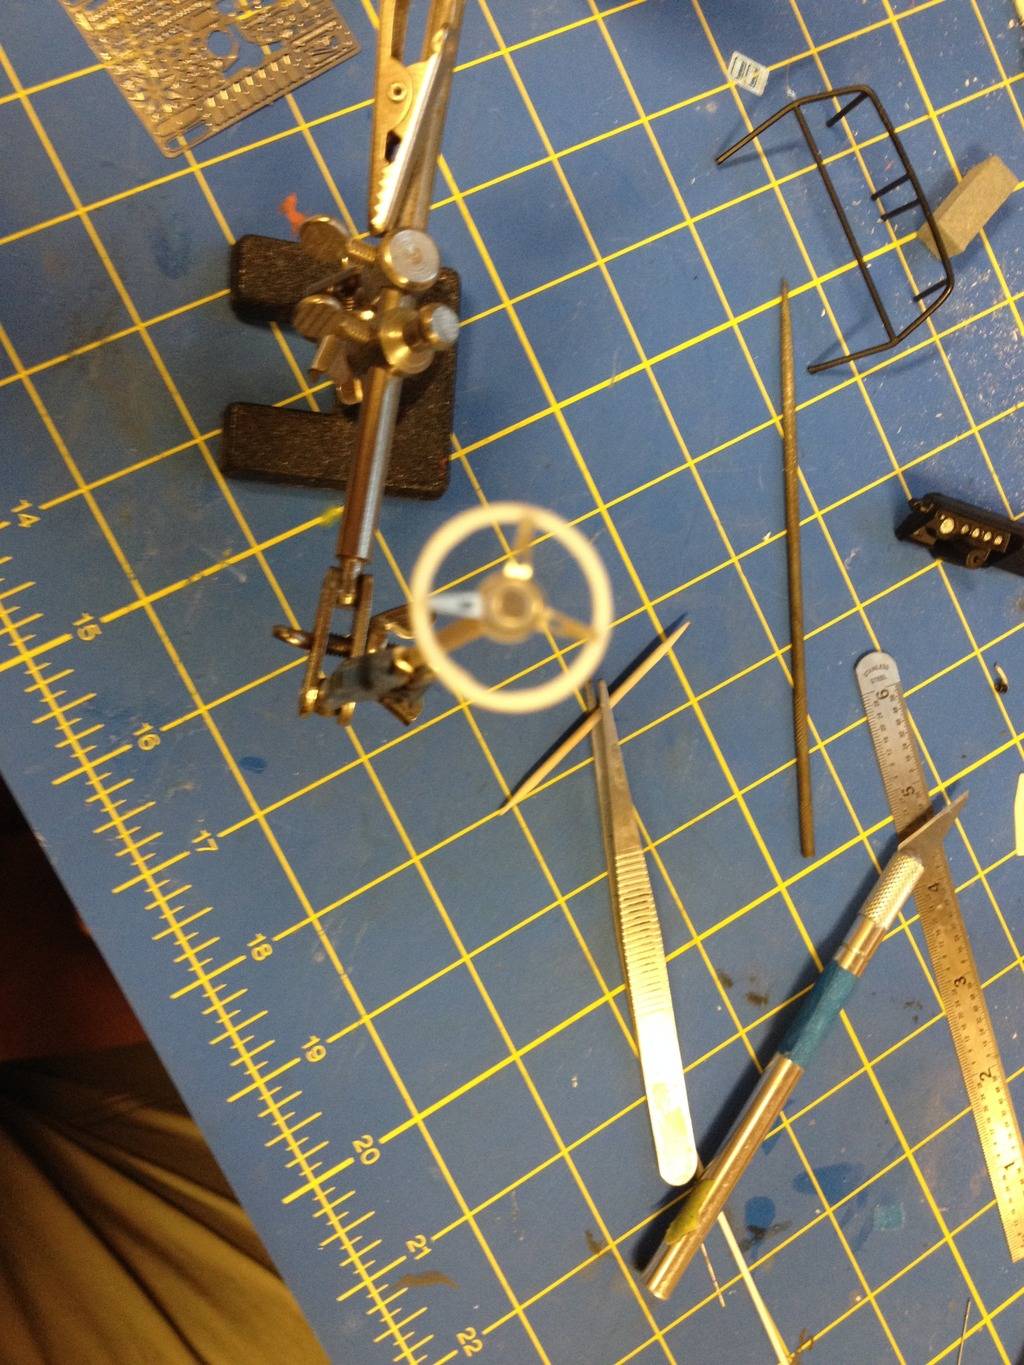
using super glue i attach the wheel rim to the PE center
a look at the dash

thinkin i need to paint the wheel because the brass is a bit out of plase
so i painted it dull steel
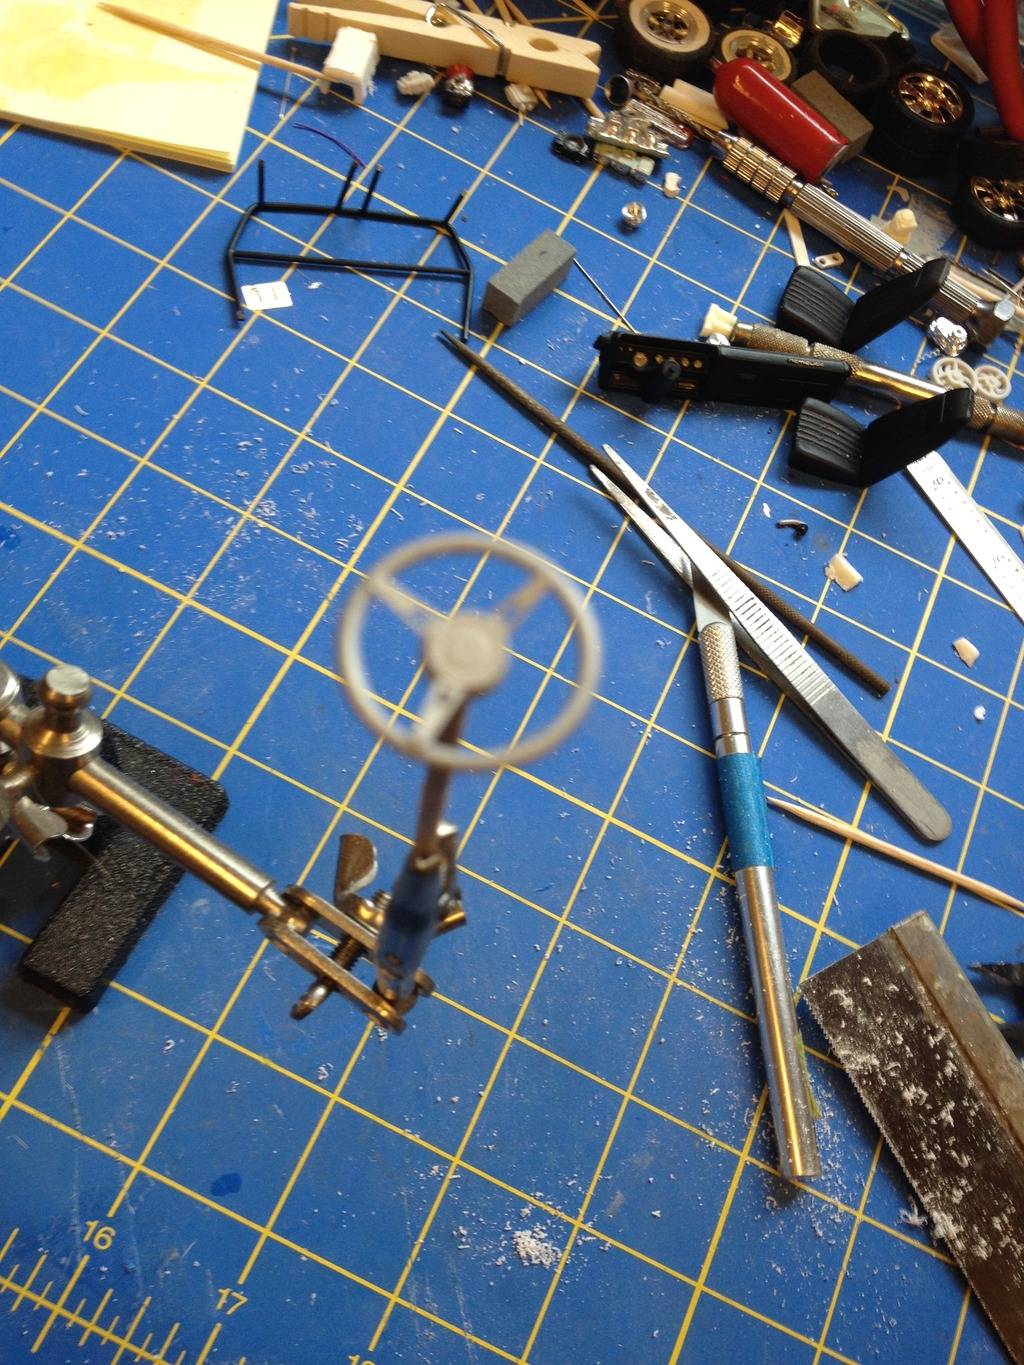
and then satin black on the wheel rim
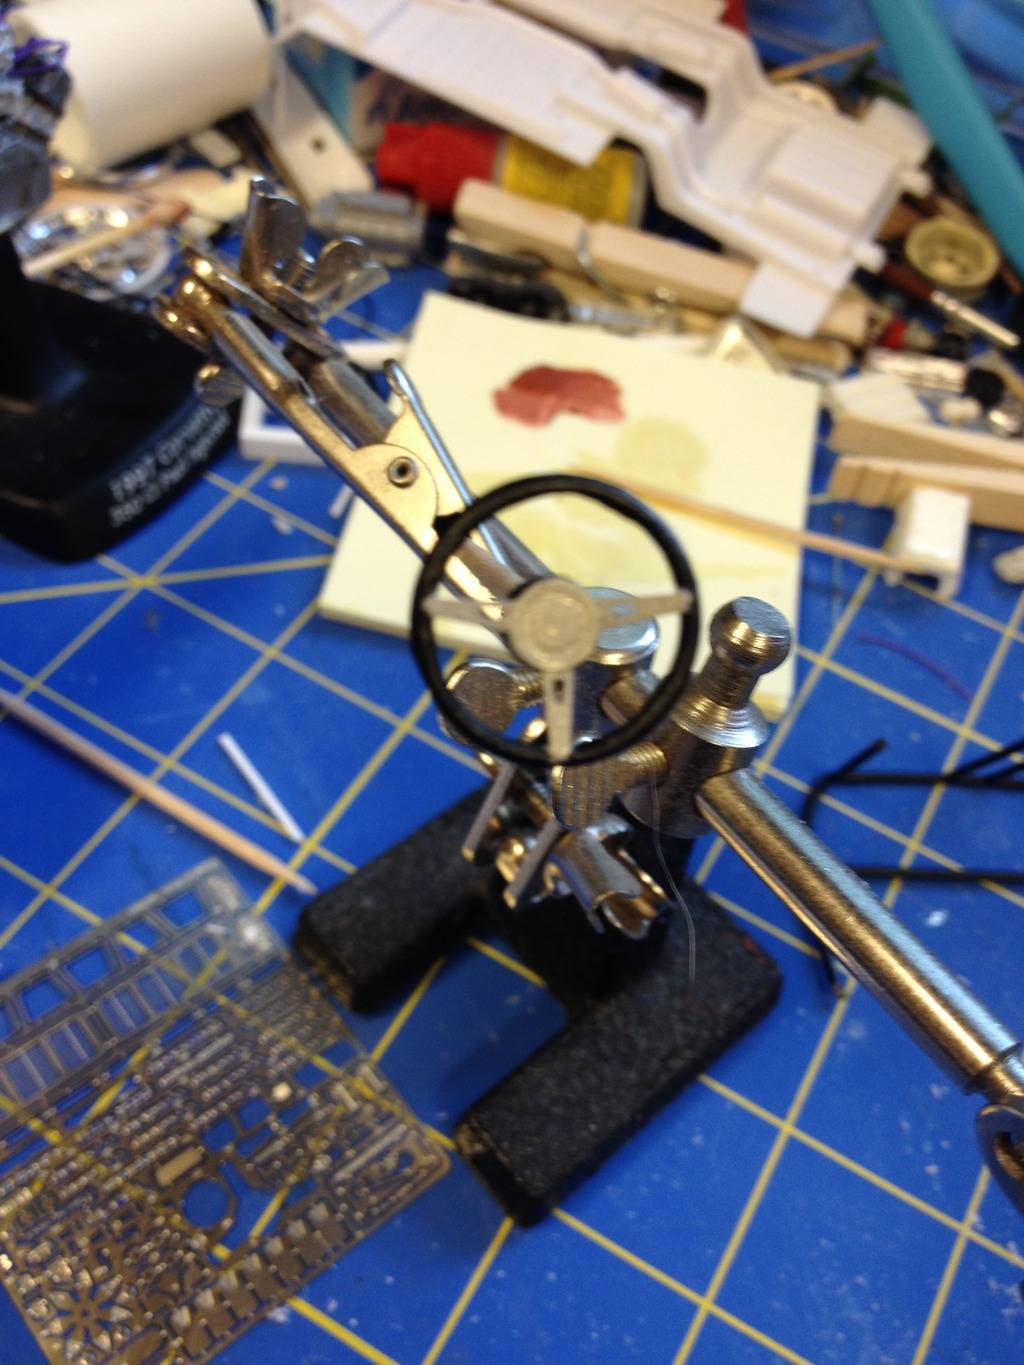
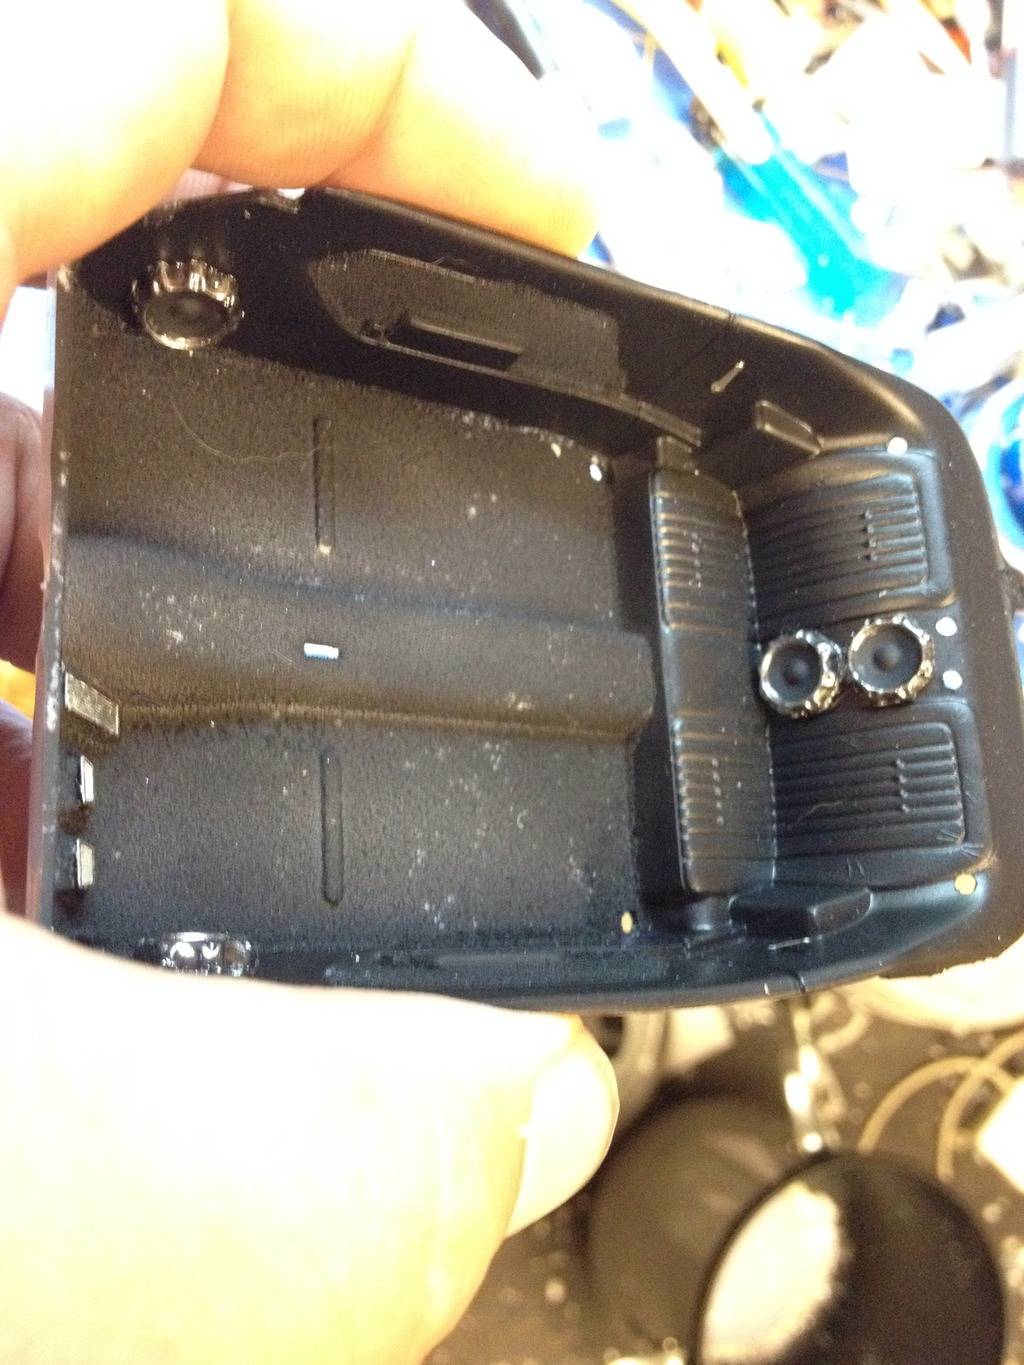
while that dries i am gonna add in some speakers to the interior.. starting with my resin units i prep them for paint

nice coat of gloss black on as a base

with a bit of alclad chrome

back to the dash.... detailed up the gauges a bit
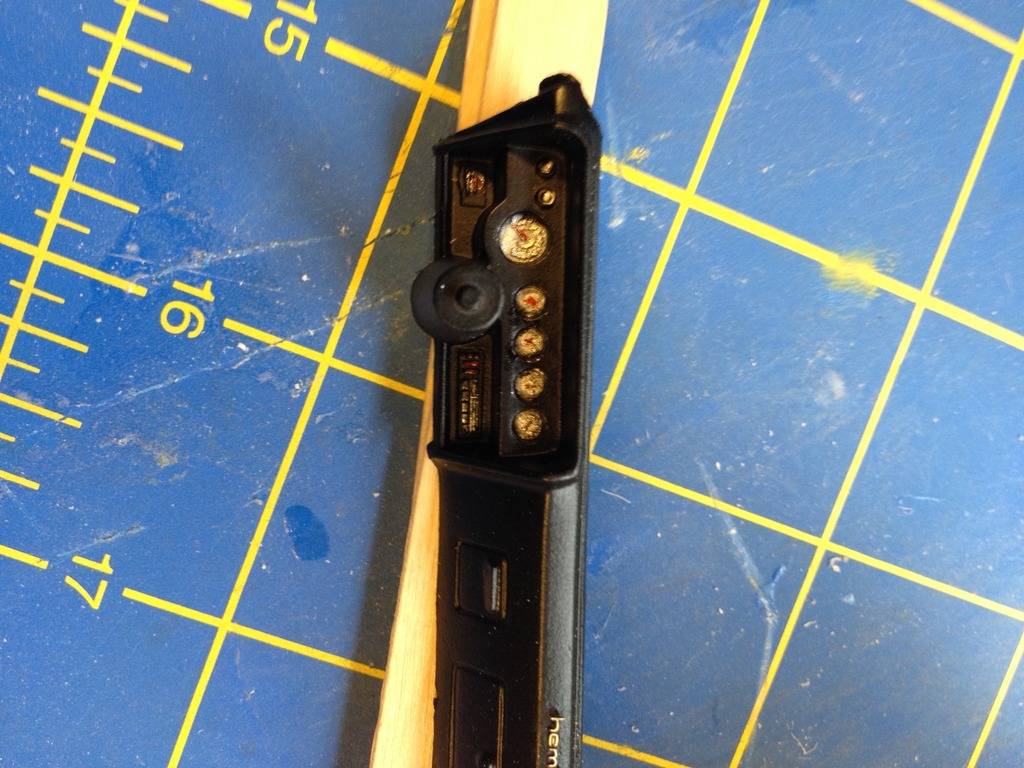
time to add some "glass" to the gauge faces
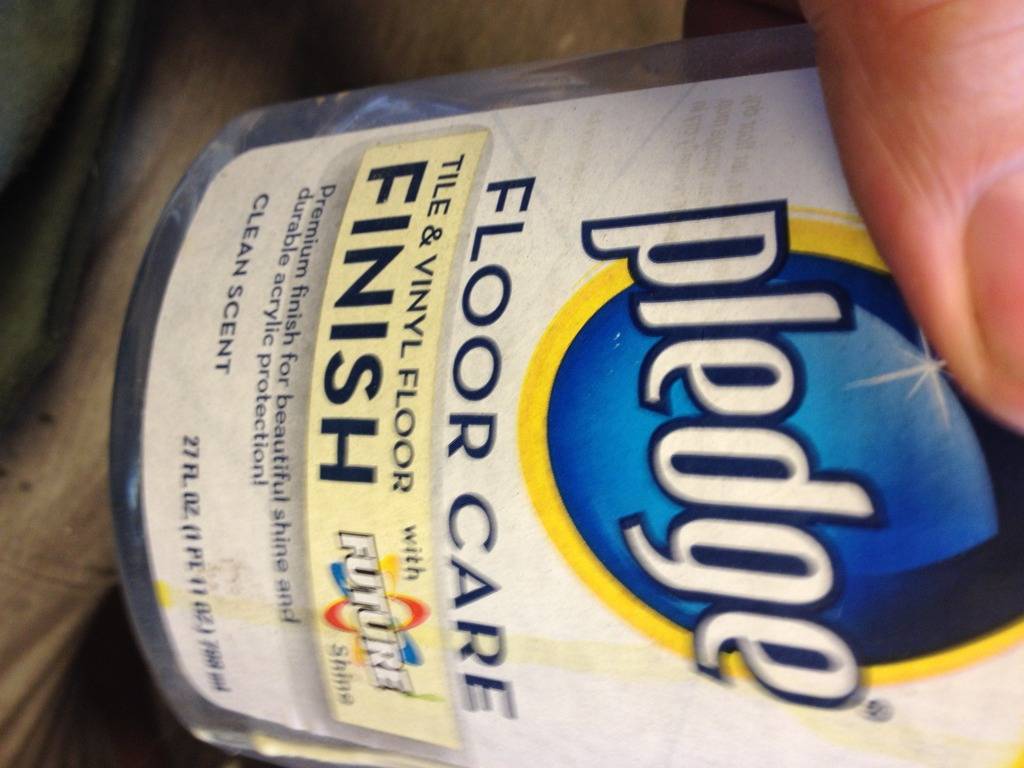
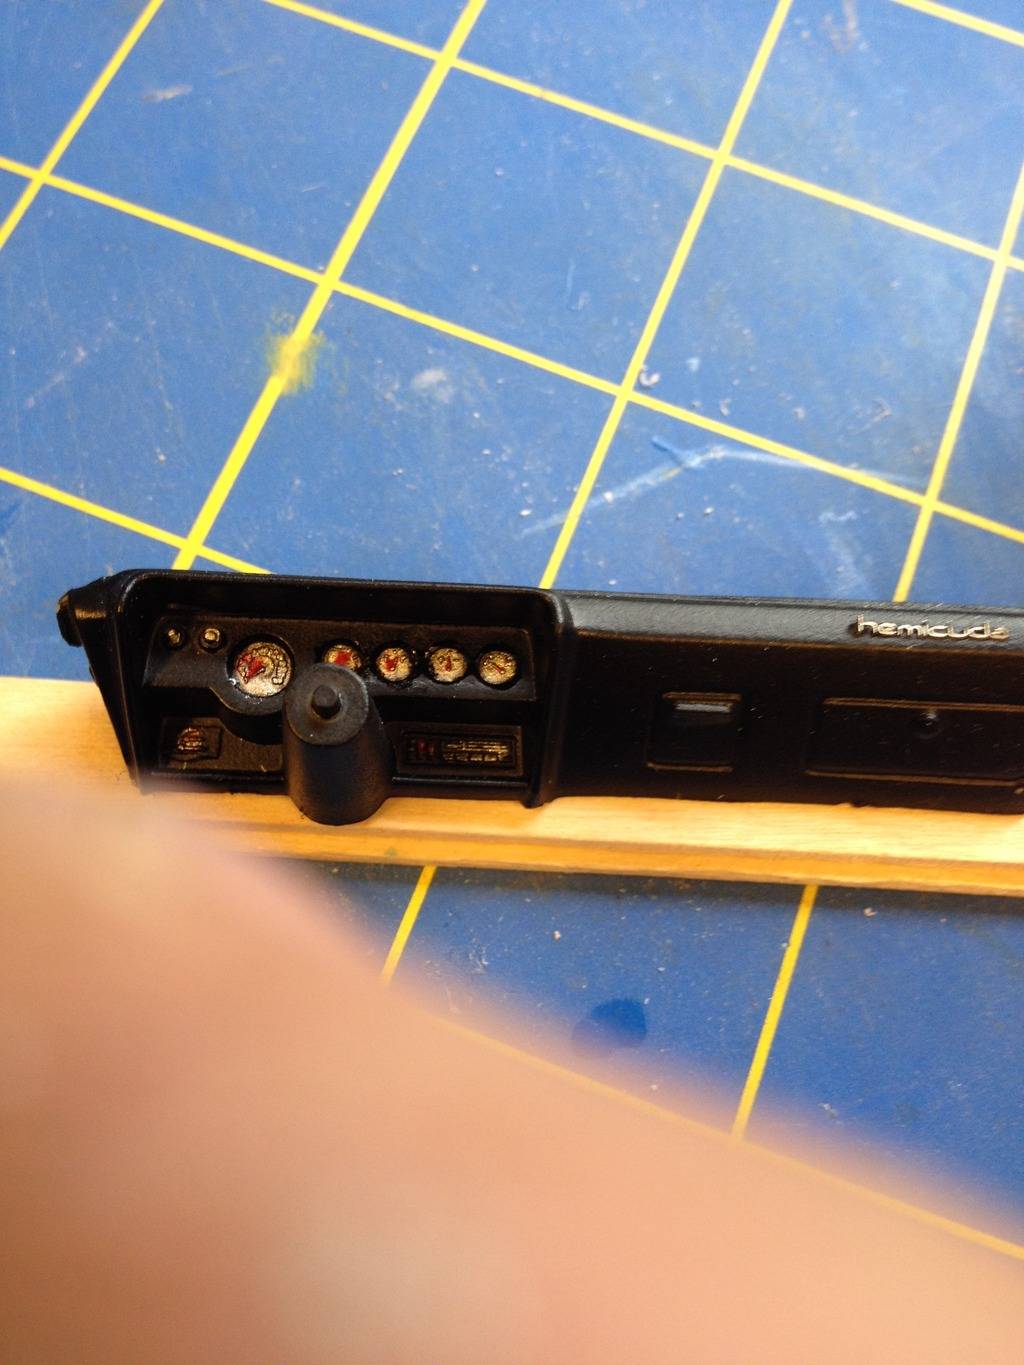
now carefully i fill each of the gauge faces with the polish and set it aside to dry

once dry, it looks like the glass gauge faces.. works for me
speakers were glued in place with super glue
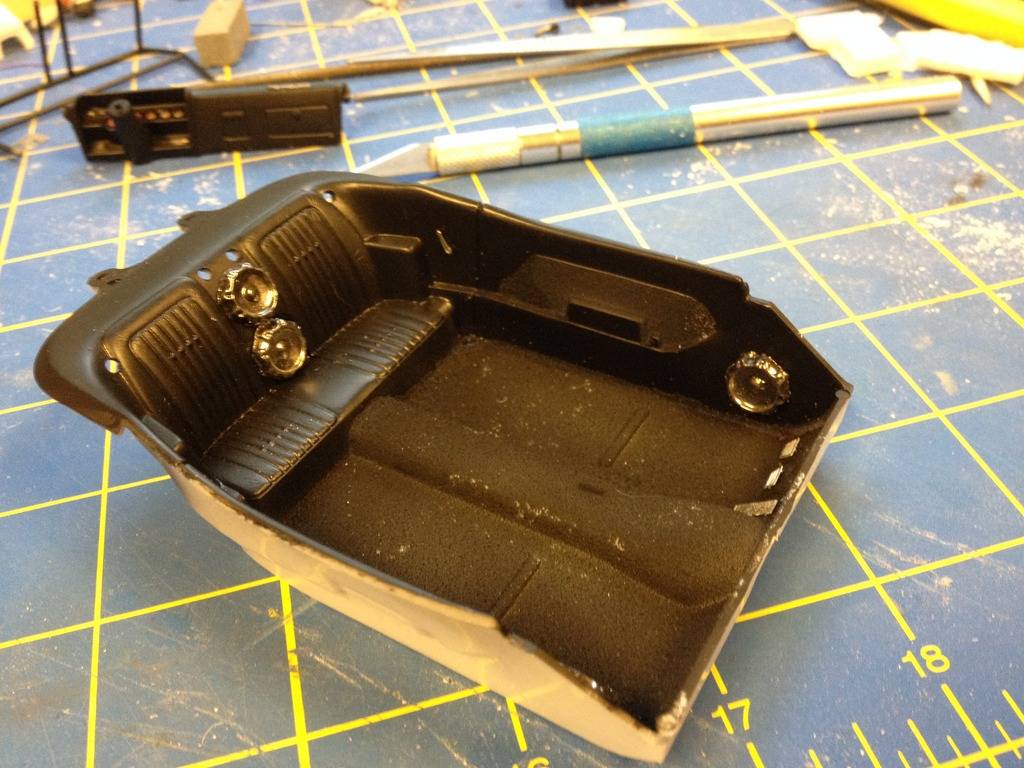
then i used flat black on the speaker cones leaving just the surrounds chrome
another lil addition to the build
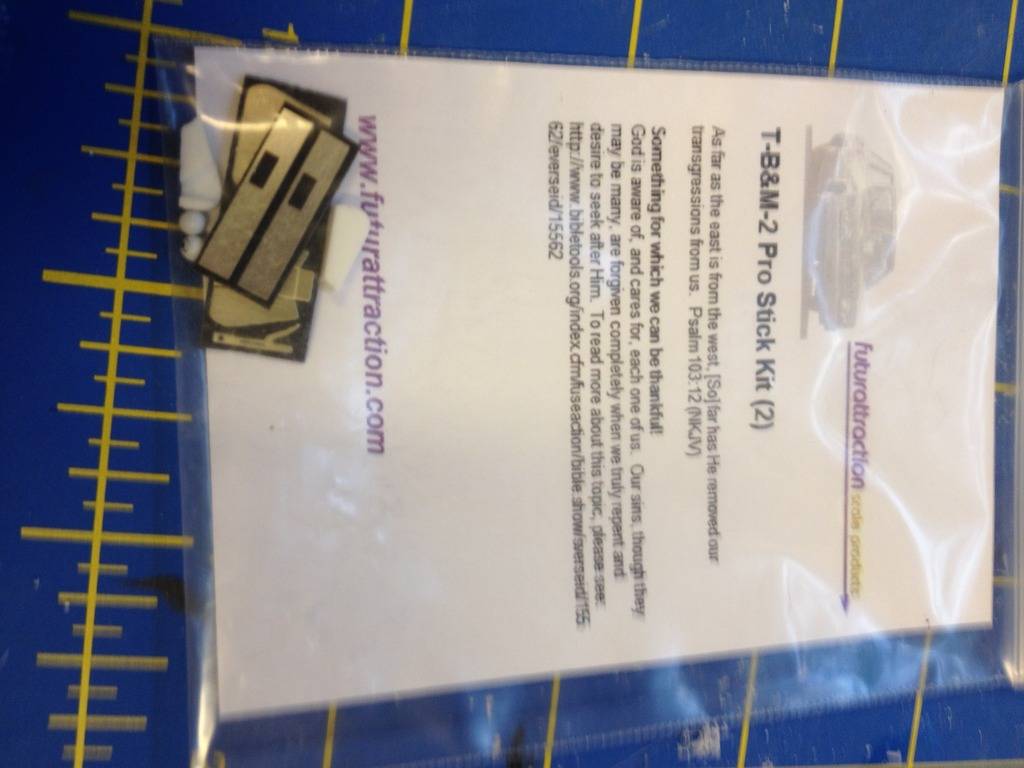
i like future attractions items, i just really wish they would start including both decals and instructions with them. they can be a bit goofy to install but if you take tour time they look decent
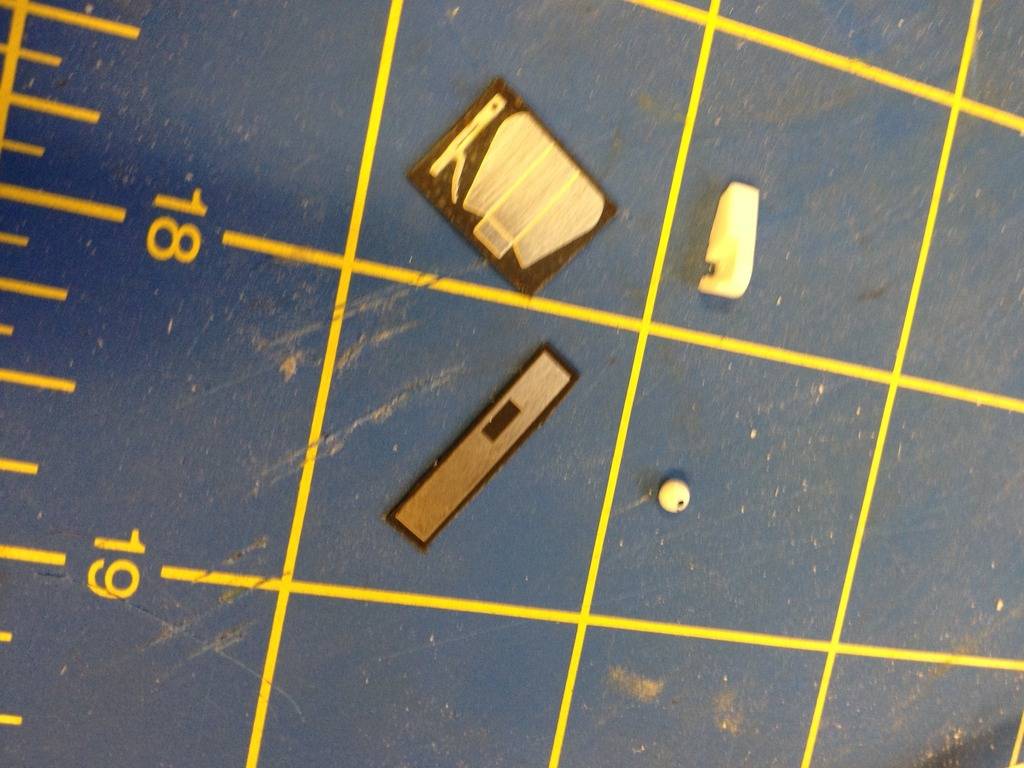
building it up

interior mocked up
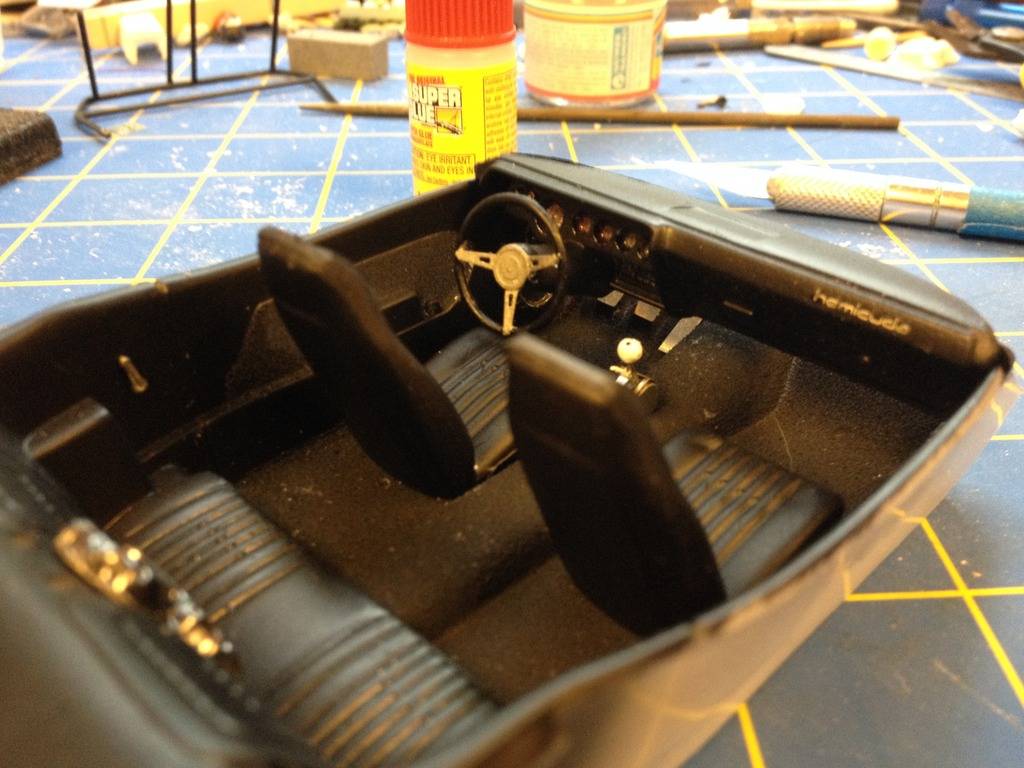
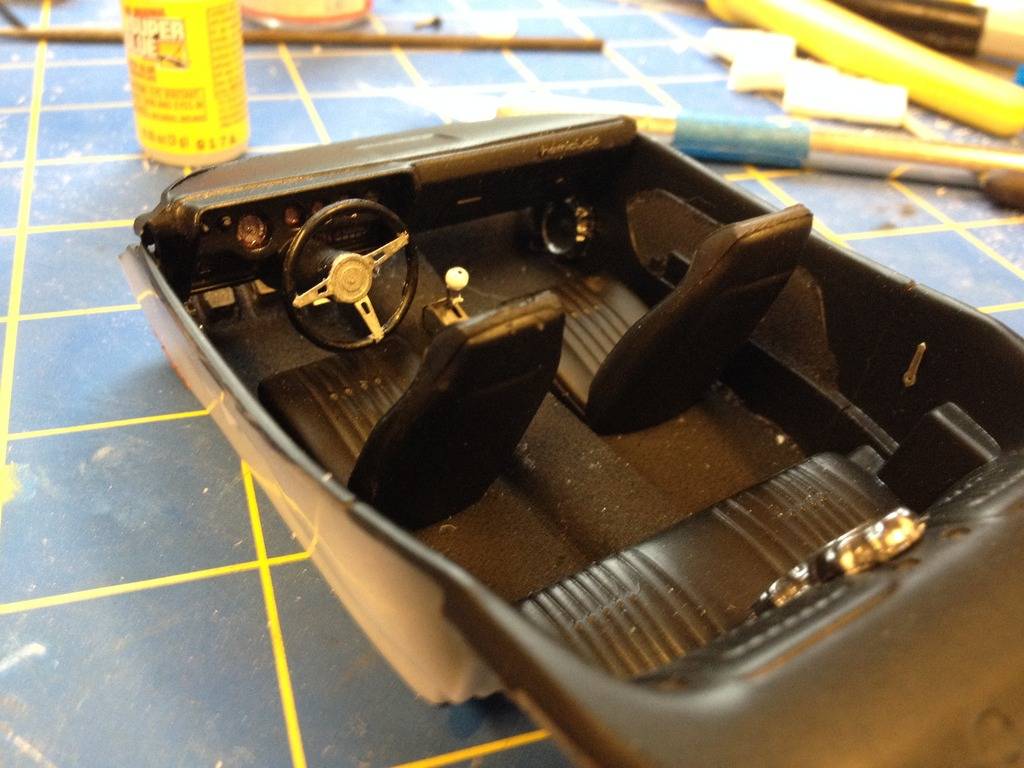
thats where i am gonna leave off for the day
cya soon
decided to add the rear window handles from the PE sheet
was gonna paint them to dull them out a bit but i kinda like them plain metal color
now onto the steering wheel
hmmmmmm
out comes the center section
i cleaned up the outer ring with a rat tail file
now i know i will have to attach the wheel in place when i am done so i cut the center mount section off the kit wheel and sand the edges down to act as my base
i bent the arms of the wheel center a bit to look right
using super glue i attach the wheel rim to the PE center
a look at the dash
thinkin i need to paint the wheel because the brass is a bit out of plase
so i painted it dull steel
and then satin black on the wheel rim
while that dries i am gonna add in some speakers to the interior.. starting with my resin units i prep them for paint
nice coat of gloss black on as a base
with a bit of alclad chrome
back to the dash.... detailed up the gauges a bit
time to add some "glass" to the gauge faces
now carefully i fill each of the gauge faces with the polish and set it aside to dry
once dry, it looks like the glass gauge faces.. works for me
speakers were glued in place with super glue
then i used flat black on the speaker cones leaving just the surrounds chrome
another lil addition to the build
i like future attractions items, i just really wish they would start including both decals and instructions with them. they can be a bit goofy to install but if you take tour time they look decent
building it up
interior mocked up
thats where i am gonna leave off for the day
cya soon
- Rhodes
- Posts : 55
Join date : 2015-01-26
Age : 59
Location : Conneautville, PA
Re: 71 Cuda - Kitbash
Sun Apr 19, 2015 5:12 pm
Nice interior work there Wayne 
Permissions in this forum:
You cannot reply to topics in this forum|
|
|